

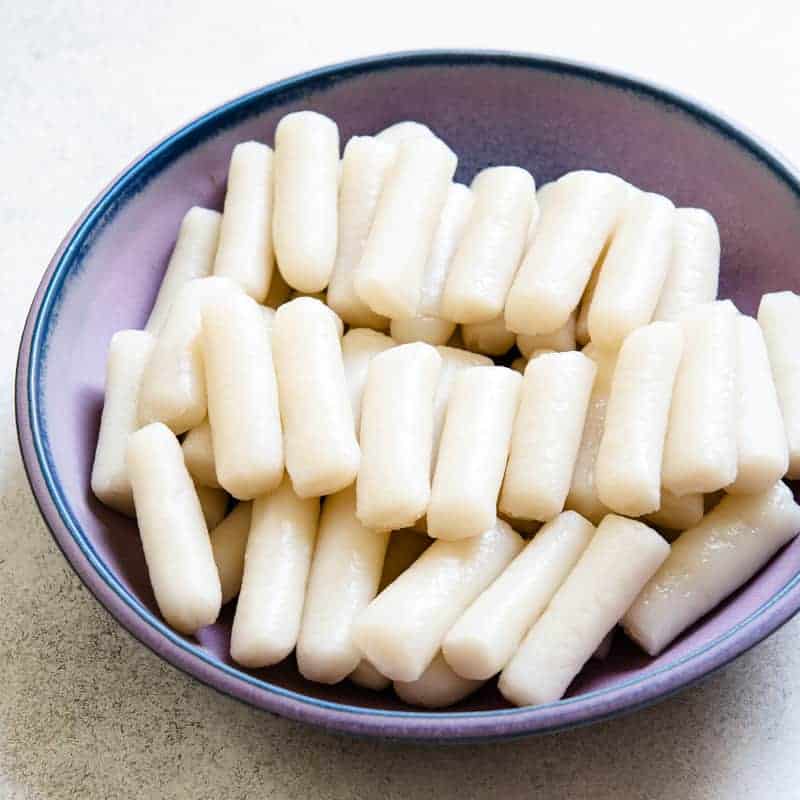
Here is a step-by-step guide on how to make steamed Asian rice cakes. They have a slight chewy texture and they are a versatile ingredient in Asian cuisine. Serve them plain with sauce on the side, stir fried, or in stews!
This Asian rice cakes recipe came from Mama Lin’s attempt to make Korean rice cakes, specifically the kind used in tteokbokki. Like in Korean cuisine, steamed rice cakes are prevalent in Chinese cooking. In fact, Mama Lin makes rice cakes for various Chinese holidays throughout the year. So when my sister-in-law brought home store-bought Korean rice cakes, Mama Lin declared that she could make them from scratch. There would be no need to buy them anymore!
Often times, Korean rice cakes, tteok (떡), are made by pounding the dough to give the rice cakes its characteristic chewy texture. Unfortunately, Mama Lin doesn’t know that cooking technique. However, she figured out that by adding tapioca starch to the dough, you can get chewy rice cakes without pounding the dough.
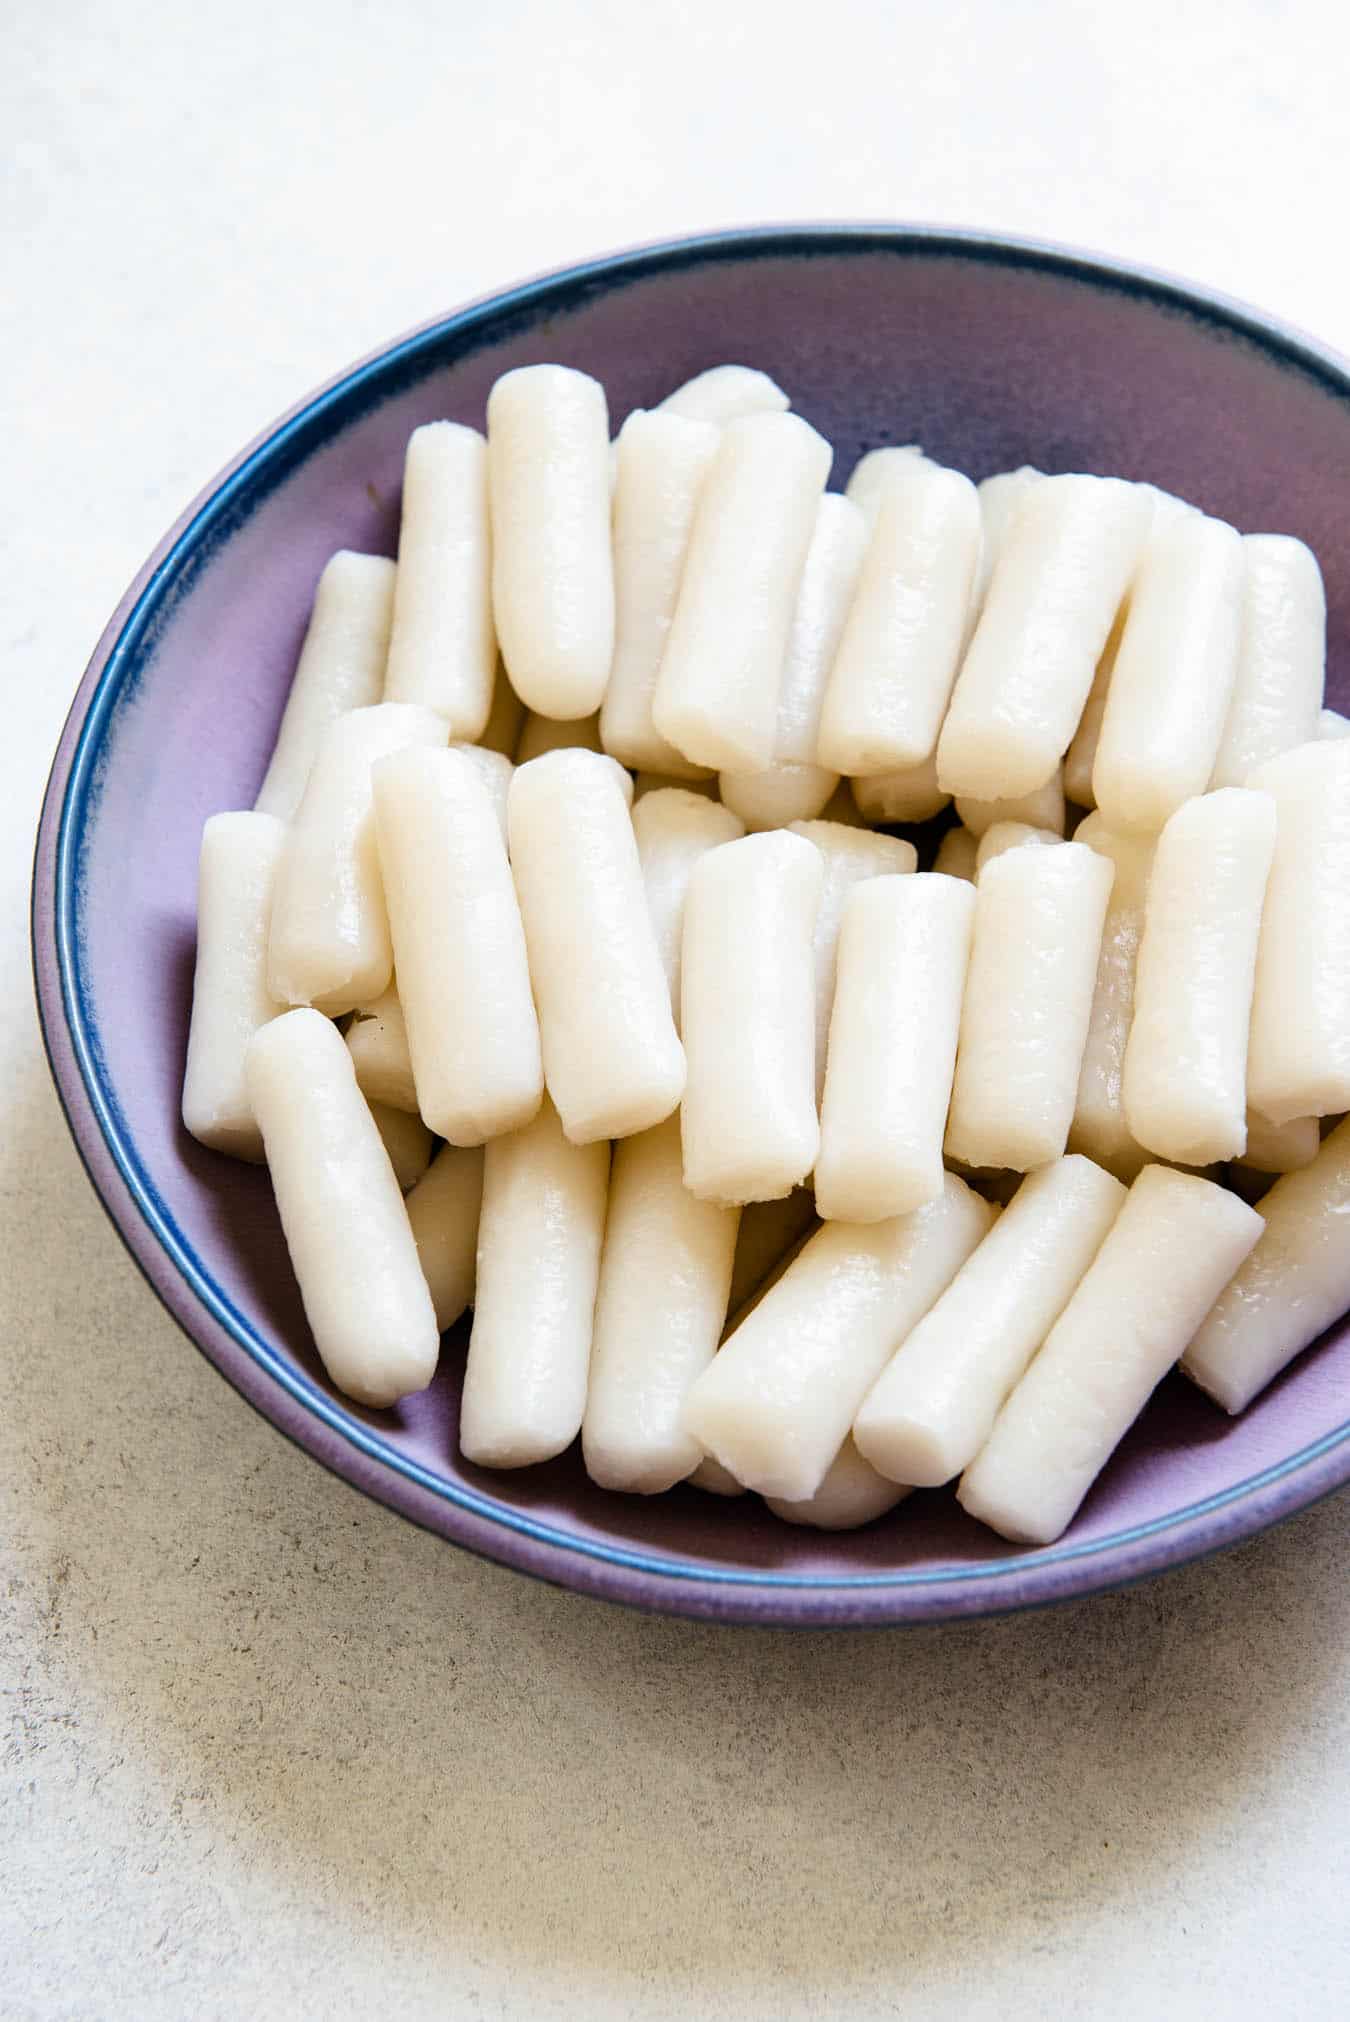
These steamed Asian rice cakes are a versatile ingredient that you can use to stir fry, to add to soups, or to eat on their own with sauce.
HOW TO MAKE STEAMED ASIAN RICE CAKES
FLOUR BLEND
The rice cakes are made from a combination of rice flour and tapioca starch. The tapioca starch gives the rice cakes a chewier quality. If you only used rice flour, the rice cakes will be more firm and feel denser when you bite into it.
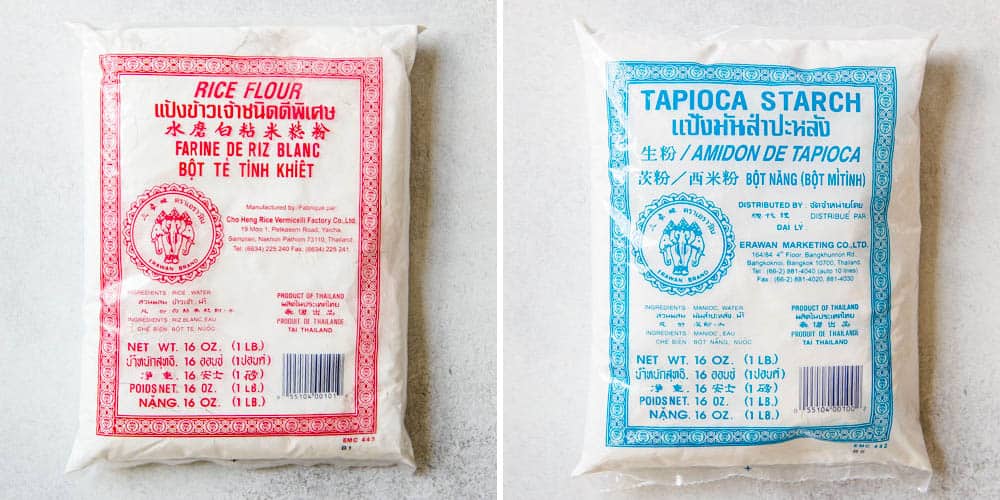
Typically, Mama Lin uses Thai rice flour (red label) and tapioca starch (blue label). These flours are relatively inexpensive in Asian supermarkets. You can also find them on Amazon (rice flour, tapioca starch) though they are much more expensive there.
In the recipe, I also added a small amount of sugar and salt to the dough to give the rice cakes a little flavor.
USING HOT WATER TO MAKE THE DOUGH
To start making the dough, you’ll mix the flours with boiling hot water. It is crucial to use hot water because the heat “cooks” the dough, making it flexible and pliable. In turn, this allows you to manipulate the dough into whatever shape you want.
When adding water to the flour, I usually pour about half the water into the bowl with one hand, and use the other hand to stir everything simultaneously. Once all the water has absorbed, I’ll add the rest of the hot water. Finally, I add 1/4 cup of room temperature water to the dough to moisten any dry loose flour in the bottom of the bowl. This also cools the dough slightly.
KNEADING THE DOUGH
As you can imagine, the dough is very hot in the beginning. I usually let the dough sit and cool for 2 minutes before kneading. Not surprisingly, Mama Lin goes straight into kneading without waiting for the dough to cool. I don’t know how she does it.
If, after 2 minutes, you still find the dough to be very hot, let the dough sit for another 1 to 2 minutes before kneading. You can also wear disposable gloves, which protects your hands from the heat somewhat.
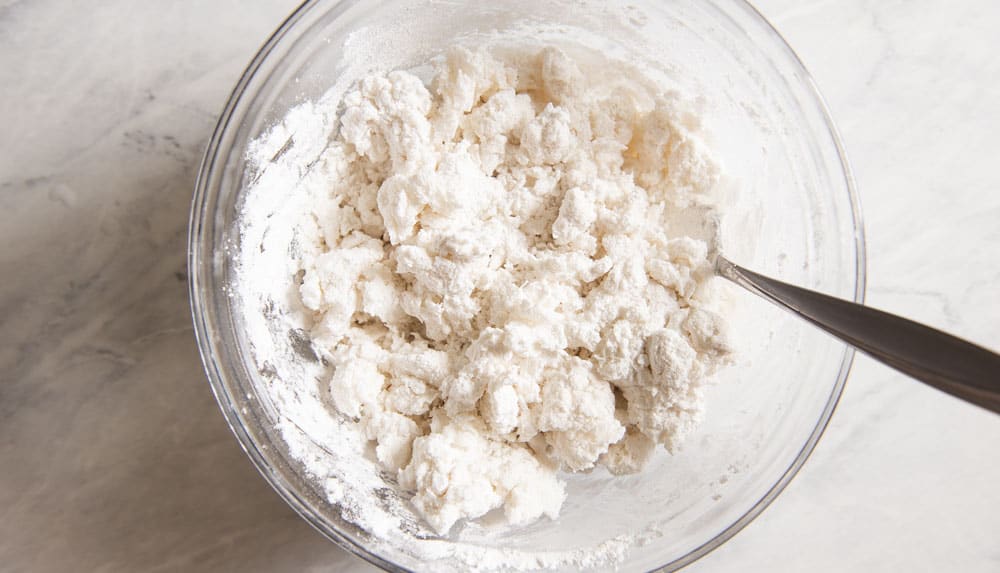
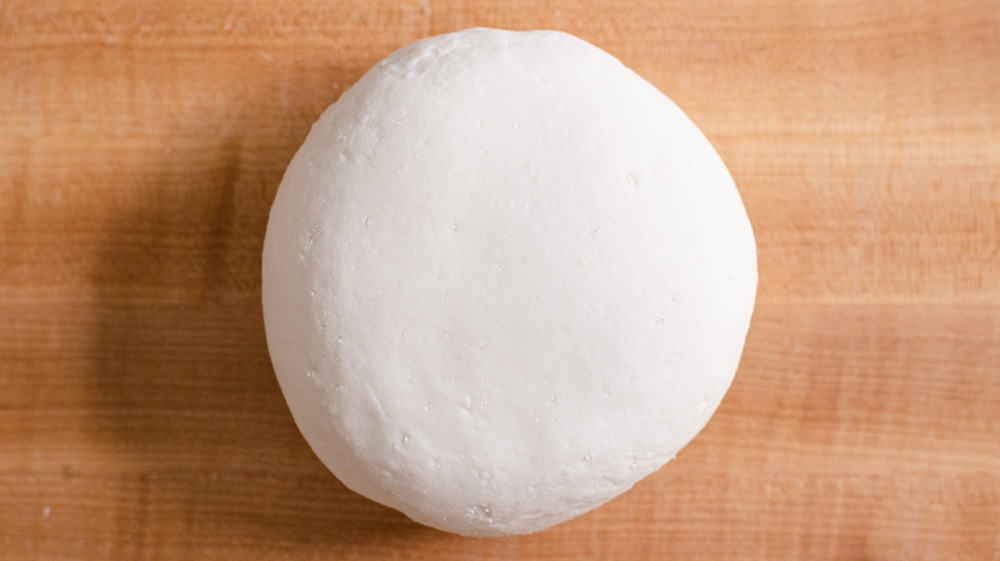
Knead the dough until you have nearly worked all the loose flour into the clump of dough. Then, turn the dough onto a work surface. Continue kneading it for about 2 to 3 minutes. The outside of the dough should be relatively smooth (see photo below). This dough is very forgiving, so it doesn’t matter if you have a few creases here or there. Most importantly, the dough should not feel dry.
It is very common for rice flour doughs made with hot water to be a little sticky when you knead it, especially in the beginning. As you continue to knead it, the dough will gradually feel less sticky. Towards the end of kneading, I found the dough to be a little tacky but not overly stickly. If the dough feels very sticky after several minutes of kneading, add another tablespoon of rice flour and knead the dough again.
DIVIDE DOUGH AND SHAPE INTO LONG ROPES
This type of dough does not need any resting time. As a matter of fact, it’s better to work with it while the dough is still warm. If you let the dough sit for a long time, the outside of the dough will start to dry and form a crust.
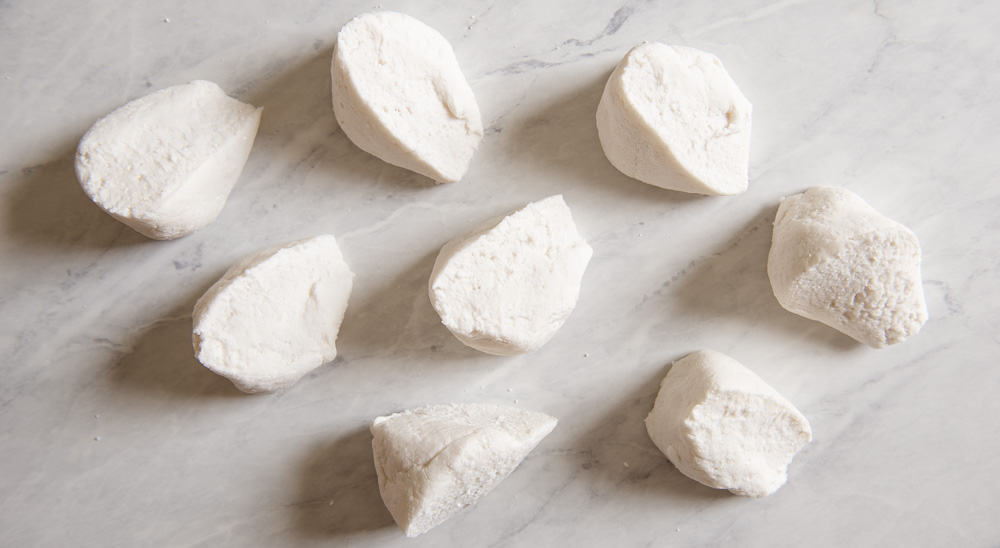
Shape the dough into a ball and divide it into 8 equal pieces. You don’t need to be too precise. For reference, my pieces of dough were somewhere between 94 to 98 grams.
Leave one piece of dough on the work surface for rolling out. Transfer the remaining 7 pieces of dough back into the bowl and cover with a towel.
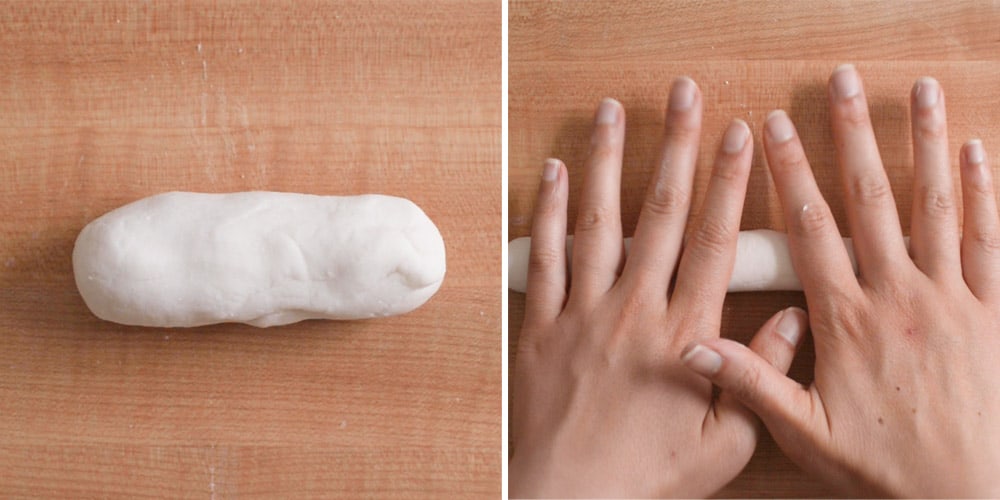
Shape the piece of dough into a short, thick log, and then place the log on the work surface. Starting from the middle, roll out the dough and gradually work your hands further apart. Eventually, you will get a long dough rope. It should be about 16 inches long and just over 1/2 inch in diameter. Roll the dough rope off to the side.
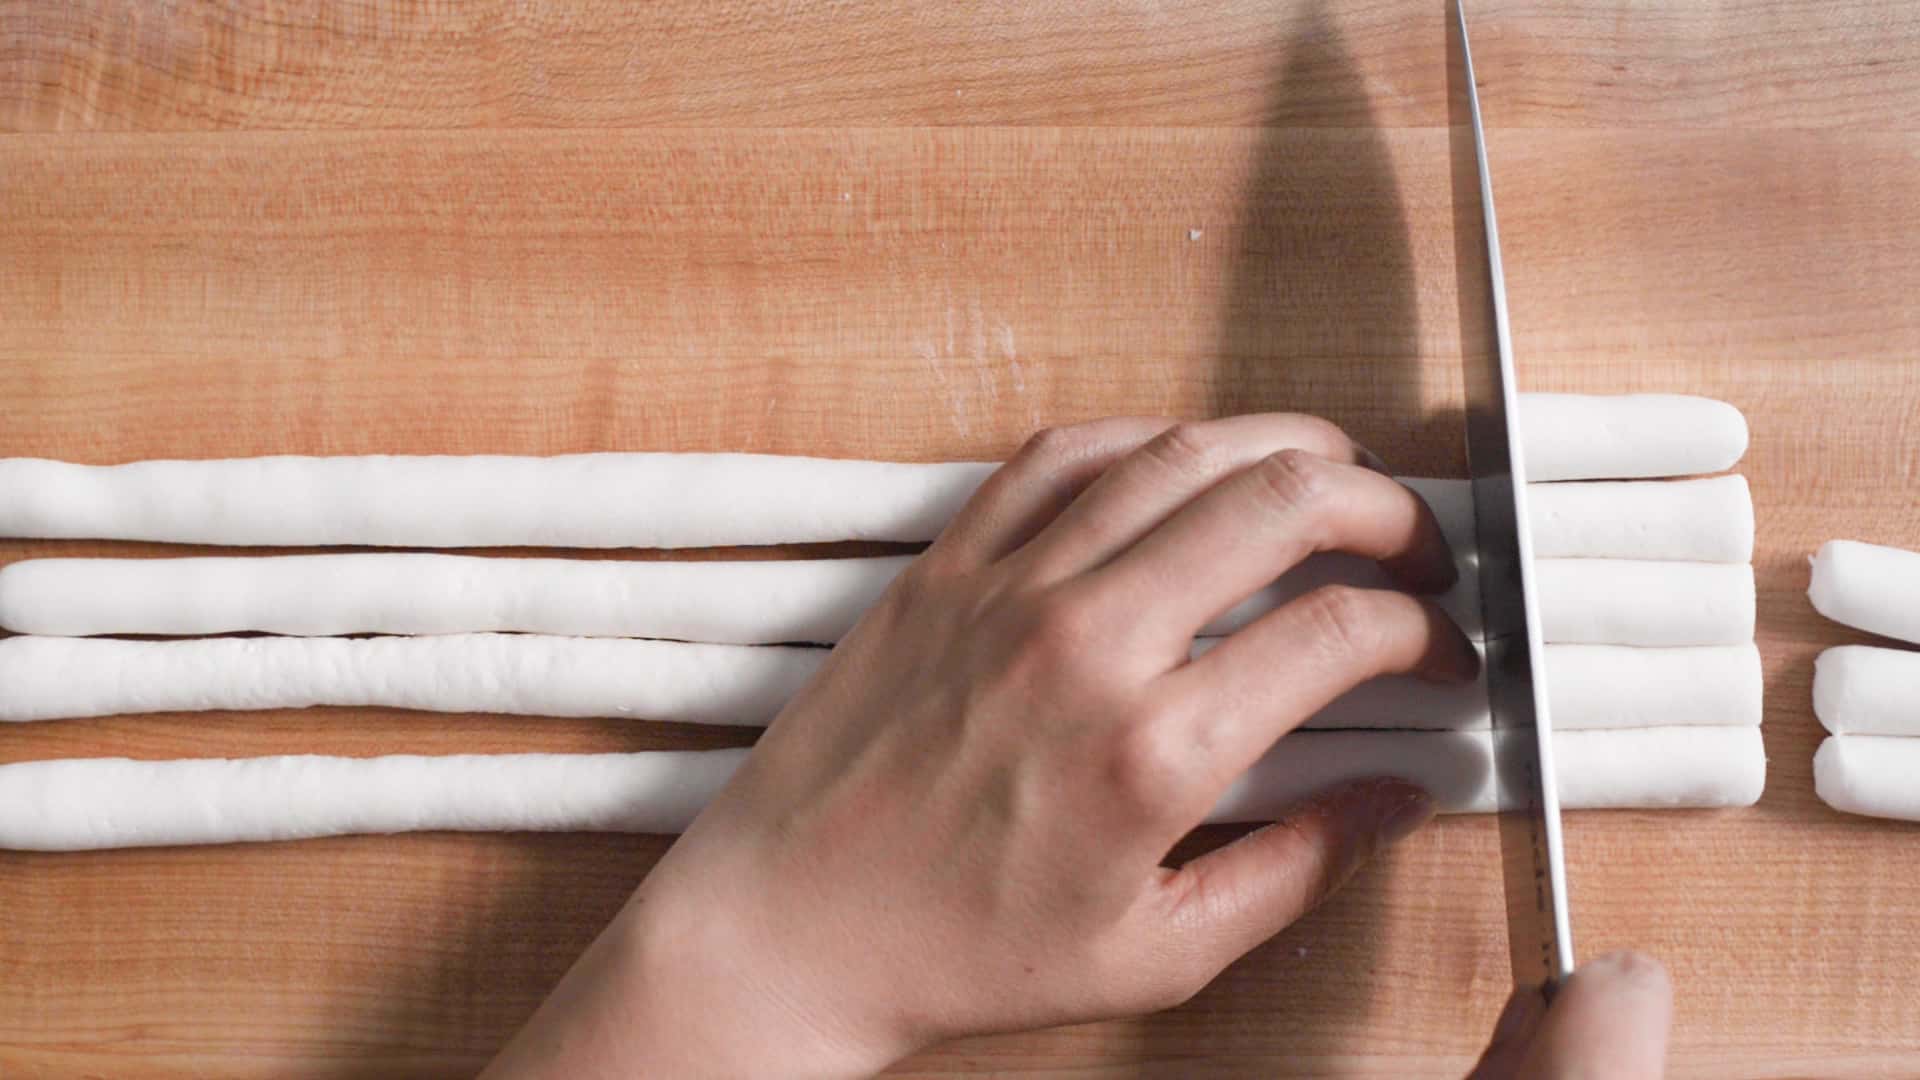
Roll out 3 more pieces of dough into long ropes. Then, line up the 4 ropes of dough and cut them up into 2-inch pieces. The dough will stick to your knife a little. You can lightly grease the sides of your knife with oil to prevent sticking, but I don’t usually bother with that.
Transfer all the pieces of rice cake onto a large baking sheet and cover them with a towel while you finish shaping and cutting the remaining pieces of dough. If any of the last few pieces of dough have started to dry up and crust over, knead them again until they no longer feel dry. Then, roll out the dough into a rope.
EQUIPMENT TO STEAM ASIAN RICE CAKES
- 2 large plates or small pans
- parchment paper
- steaming rack
- large wok with lid
ALTERNATIVE STEAMING SETUP
You’ll want a wok that is large enough to comfortably fit the plates or pans holding the rice cakes. If you don’t have a large wok, you can also use a large sauté pan with deep sides. I would also recommend using a shorter steaming rack. Many sauté pan lids tend to be made of glass. Condensation develops easily on glass lids. Sometimes, the water might drip onto the rice cakes while they are cooking. To prevent that from happening, you can tie a towel to cover the bottom of the lid to catch the condensation.
STEAM THE ASIAN RICE CAKES
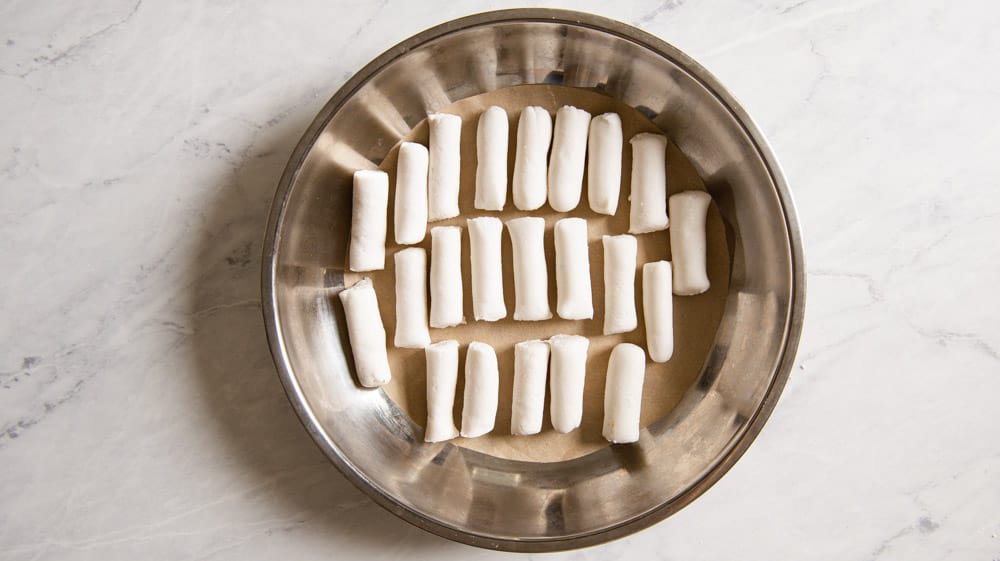
Line 2 plates (or small pans) with parchment paper to keep the rice cakes from sticking to the plates. Arrange into rows all the pieces of dough over the plates. Keep the rice cakes covered with a dry cloth until they’re ready to be steamed.
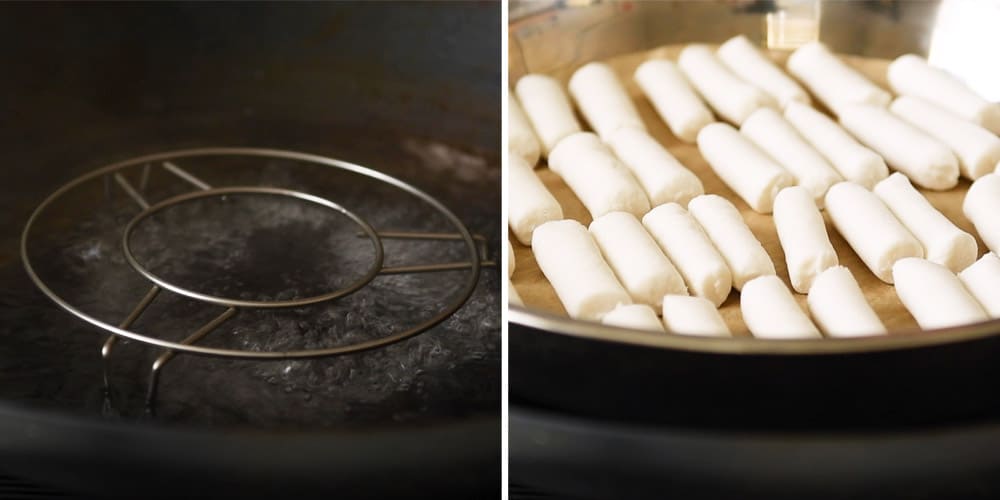
Fill the wok with about 1 1/2 to 2 inches of water. Bring the water to boil. Then, carefully place the steaming rack in the center of the wok. Make sure that the water isn’t covering the rack completely. If that is the case, remove some water from the wok. Place one of the plates or pans of rice cakes over the steaming rack. Finally, cover the wok with a lid and steam the rice cakes on high heat for 10 to 11 minutes.
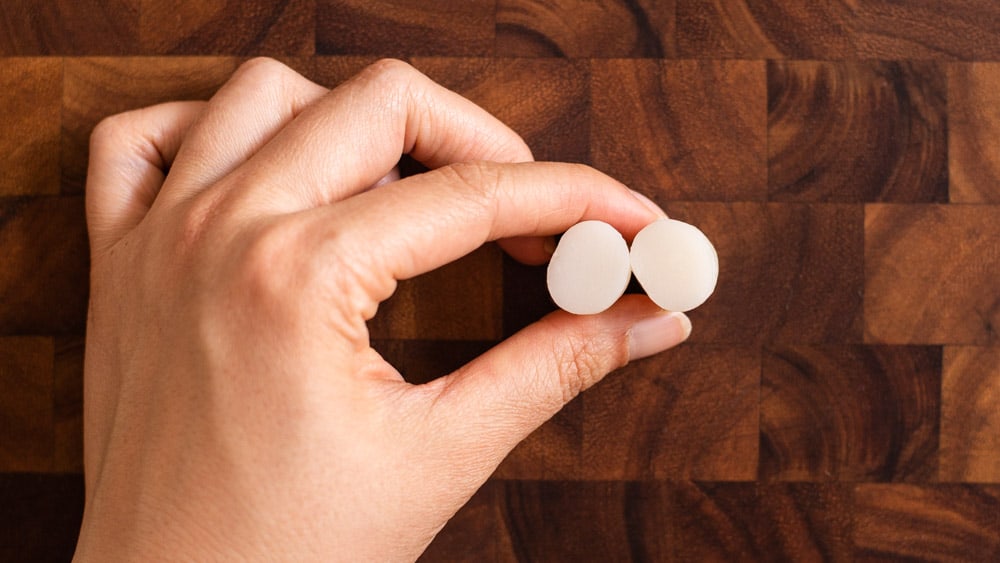
To check to see if the rice cakes are fully cooked, slice up a rice cake and check the center. The rice cakes are fully cooked if you don’t see any solid white spots in the center. Let the rice cakes cool on the counter while you steam the second batch of rice cakes. If the water level in the wok is looking low, add some water to the wok.
HOW TO EAT ASIAN RICE CAKES
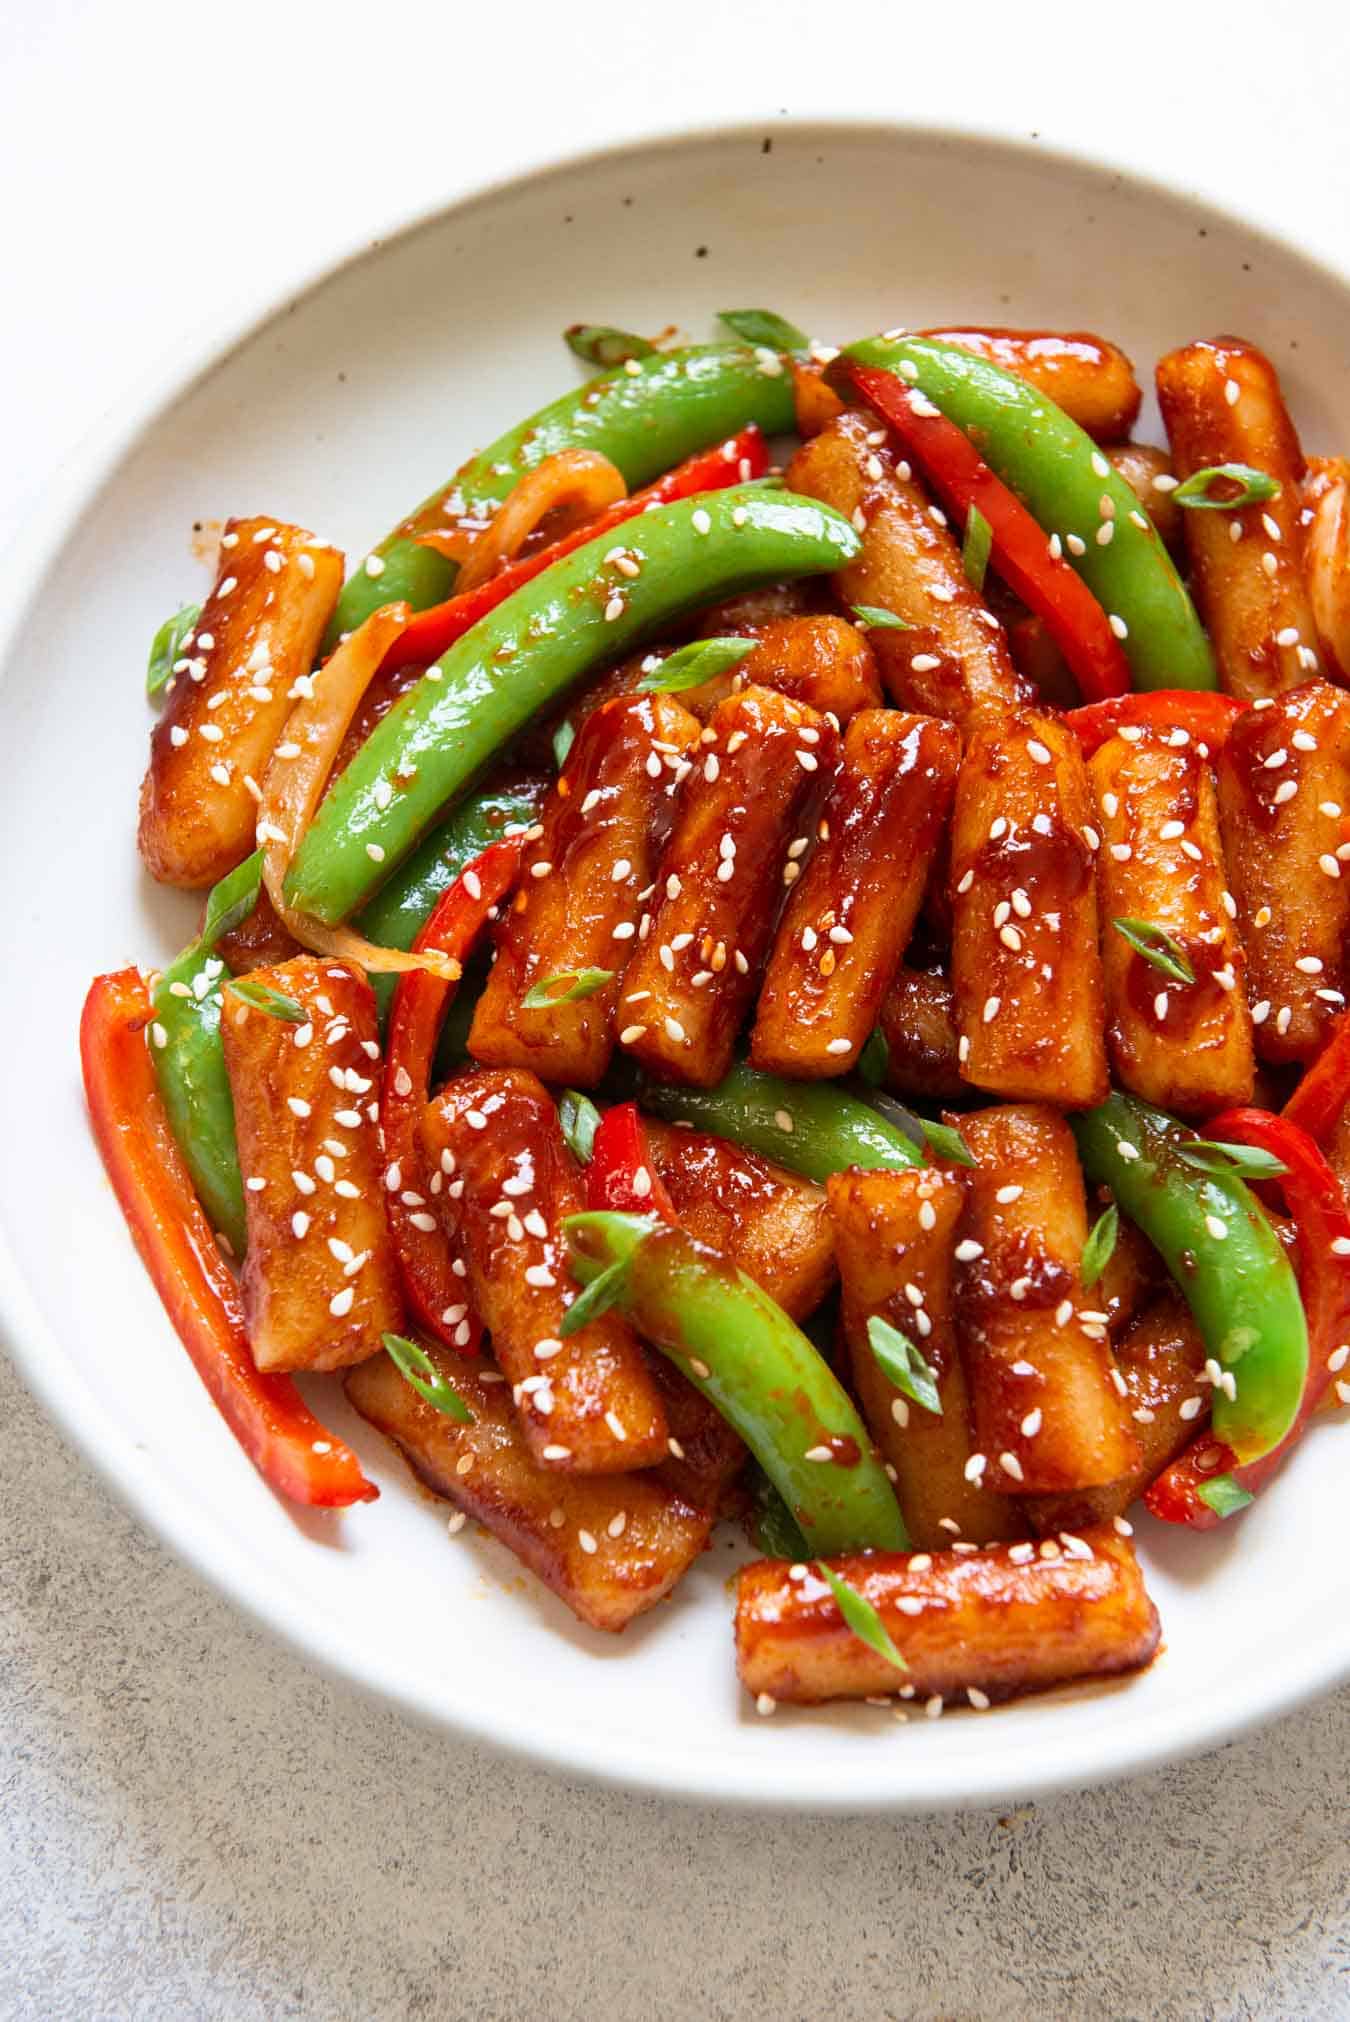
You can serve the rice cakes warm with sauces like my soy and vinegar dumpling sauce, chili oil, or peanut sauce. You can also stir fry the rice cakes, add them to stews, or use them to make tteokbokki.
Asian Rice Cakes (Steamed Rice Cakes)
I tested this recipe by weighing the rice flour, tapioca starch, and water. You may need to make minor adjustments to the recipe if you use your measuring cup. If the dough is feeling too sticky, add a bit more rice flour before kneading again. If the dough is too dry, add a small drizzle of water and knead the dough.
Store the rice cakes in a tupperware for up to a week. To reheat the rice cakes, boil some water and turn off the heat. Carefully add the rice cakes to the hot water and soak them for 2 minutes before draining. You can also freeze the rice cakes in a freezer bag. Reheat the rice cakes by soaking them in hot water for 5 minutes.
Ingredients
- 225g (about 1 2/3 cups) rice flour
- 115g (about 3/4 cup + 2 tablespoons) tapioca starch (see note 1)
- 2 teaspoons sugar
- 1/2 teaspoon kosher salt
- 455g (2 cups) water, divided
Equipment
- large tea towels
- large mixing bowl
- baking sheet
- large wok with lid
- 2 large plates or small pans
- parchment paper for lining plates
- steaming rack
Instructions
Make the Dough
- In a large mixing bowl, whisk together the rice flour, tapioca starch, sugar, and salt. Set the bowl aside.
- Pour 1 3/4 cups (400g) of water into a saucepan, and bring the water to boil, covered.
- Gradually pour about half of the hot boiling water into the bowl with the flours. Stir the flour and water with a large fork, chopsticks, or a wooden spoon as you pour the water into the bowl. Once the water absorbs into the flour, gradually mix in the remaining hot water. Continue stirring until the water is fully absorbed.
- After mixing for about 30 seconds, you’ll find there is still dry flour along the bottom of the bowl. Pour 1/4 cup of room temperature water over the loose flour. The cooler water will also cool the dough slightly. Stir everything again.
- Let the dough sit for about 2 to 3 minutes to cool. Then, begin kneading the dough. If the dough is still too hot to touch, stir the dough for another minute to cool it off, or wear disposable gloves to knead the dough.
- Knead the dough until you’ve incorporated nearly all the flour into the clump of dough. Occasionally, wipe the dough along the sides of the bowl to catch any loose flour.
- When nearly all the loose flour has been incorporated into the dough, turn everything over the counter or a work surface and knead the dough for another 2 to 3 minutes. The dough will feel a little tacky and may stick to your fingers a little. However, it shouldn’t be overly sticky. If it is very sticky, add another tablespoon of flour and work it into the dough. Shape the dough into a disc. The dough should look relatively smooth.
Shape and Cut the Dough
- Divide the dough into 8 equal pieces (anywhere around 94 to 98 grams is fine). Leave one piece of dough out on the work surface. Transfer the remaining 7 pieces back into the bowl and cover the bowl with a towel.
- Shape the dough into a short, thick log and lay it lengthwise on the surface. Starting from the middle, roll out the dough and gradually work your hands further apart. Eventually, you will get a long dough rope. It should be about 16 inches long and just over 1/2 inch in diameter. Roll the dough rope off to the side.
- Roll out 3 more pieces of dough into long ropes. Then, line up the 4 ropes of dough and cut them up into 2-inch pieces. The dough will stick to your knife a little. You can lightly grease the sides of your knife with oil to prevent sticking, but I don’t usually bother with that.
- Transfer all the pieces of cut rice cake onto a large baking sheet and cover them with a towel while you finish shaping the remaining pieces of dough. If any of the last few pieces of dough have started to dry up and crust over, knead them again until they no longer feel dry. Then, roll out the dough into a rope.
- Line the plates (or small pans) with parchment paper. This will keep the rice cakes from sticking to the plates. Arrange the rice cakes in rows over the lined plates. Cover the plates with a towel until the rice cakes are ready to be steamed.
Steam the Cakes
- Fill the wok with about 1 1/2 inches of water and bring water to boil.
- Place the steaming rack in the center of the wok. Then, carefully lower one of the plates over the steaming rack. Cover the wok with a lid and steam the rice cakes on high heat for 10 to 11 minutes. Remove the plate from the pan and let the rice cakes cool on the counter. To check whether the rice cakes are done steaming, slice up a rice cake and check the center. If you don’t see any solid white spots, they are fully cooked.
- If the water level in the wok is looking dry, add some water. Lower the second batch of rice cakes over the steaming rack, cover the wok, and steam for another 10 to 11 minutes. Remove the rice cakes from the wok and let them cool.
- You can serve the rice cakes warm with sauces like my soy and vinegar dumpling sauce, chili oil, or peanut sauce. You can also stir fry the rice cakes, add them to stews, or use them to make tteokbokki.
Notes
- I have not tried this recipe with any other type of starch, so I’m not sure which ones are good substitutes for tapioca starch.
- If your wok has a glass lid, tie a towel to cover the bottom of the lid. Condensation develops easily on glass lids, causing water to drip onto the rice cakes. To prevent that from happening, you can tie a towel to cover the bottom of the lid to catch the condensation.
Recommended Products
As an Amazon Associate and member of other affiliate programs, I earn a small commission from qualifying purchases.


Nutrition Information:
Yield: 4 Serving Size: 1/4 batchAmount Per Serving: Calories: 311Total Fat: 0.8gSaturated Fat: 0.2gCholesterol: 0mgSodium: 0mgCarbohydrates: 73gFiber: 1.4gSugar: 2.2gProtein: 3.3g
The post Asian Rice Cakes (Steamed Rice Cakes) appeared first on Healthy Nibbles.