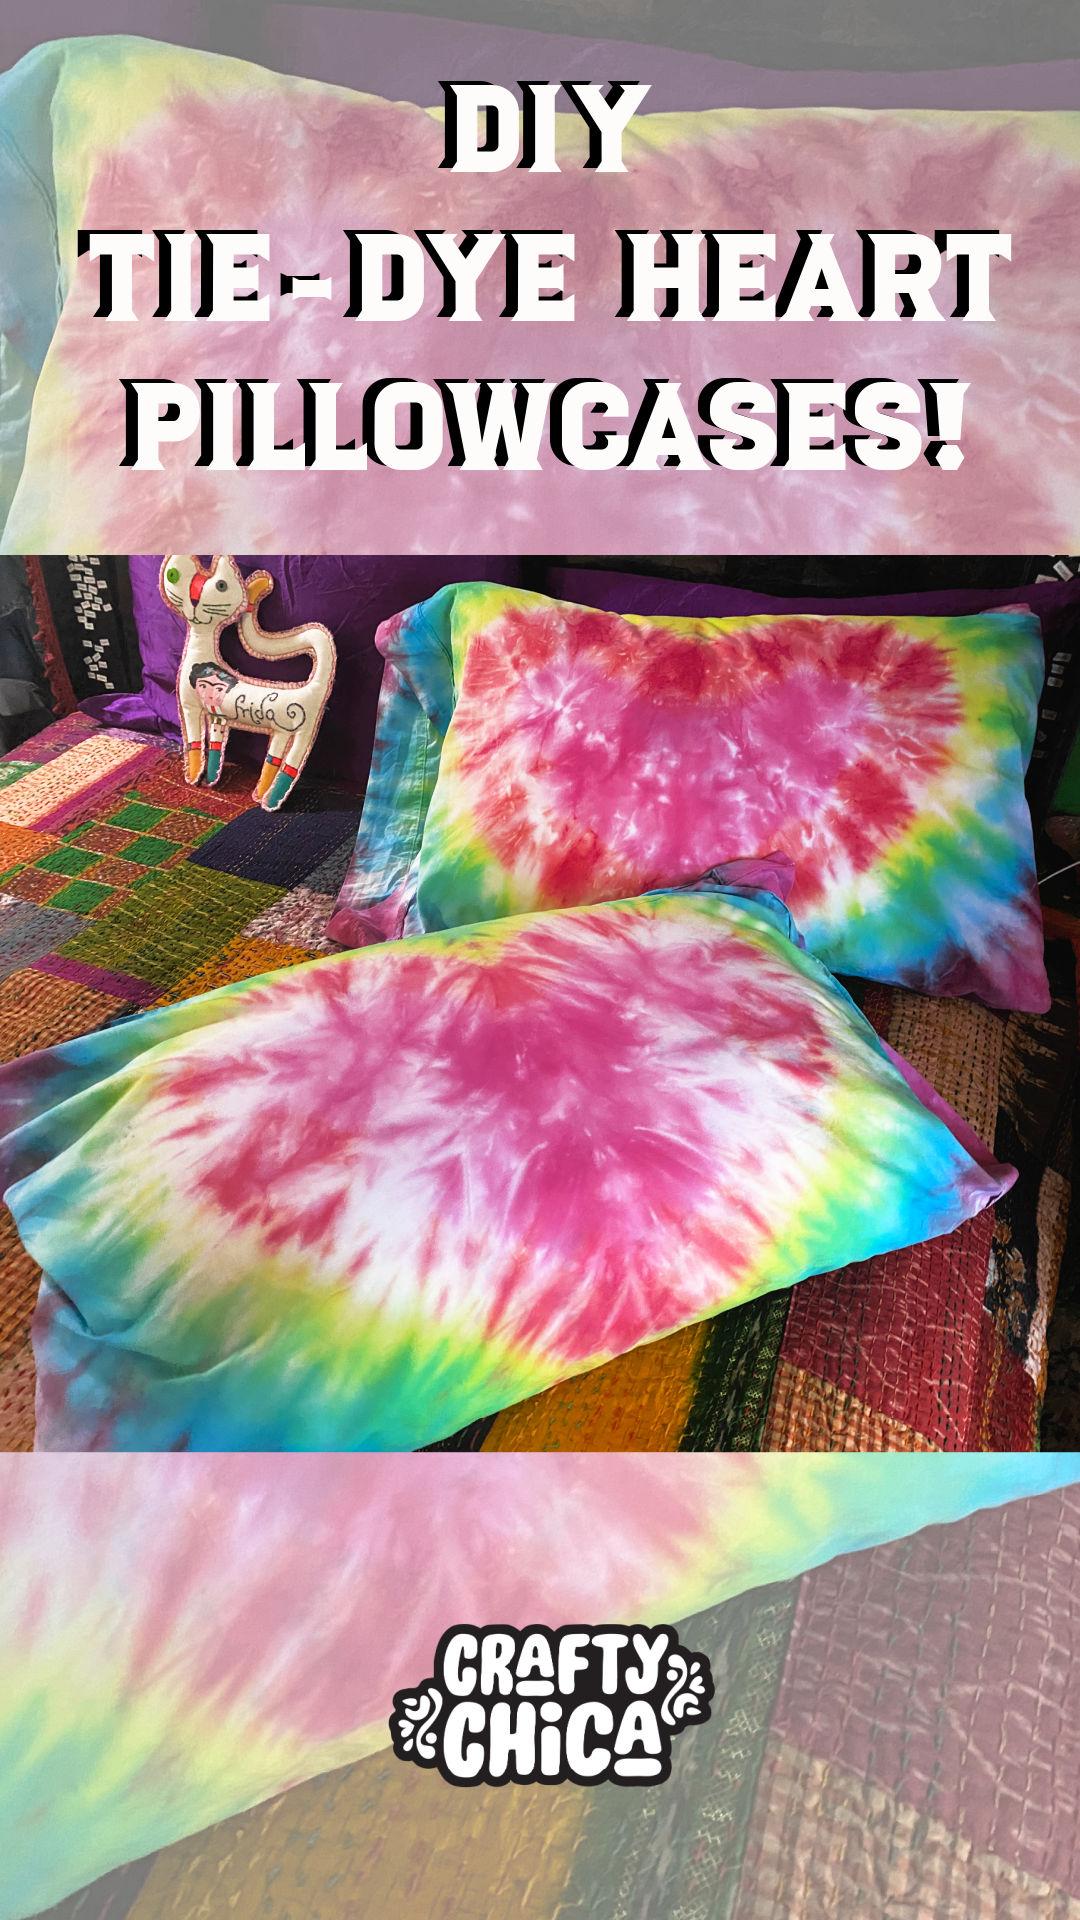
We all need L-O-V-E in our lives right now, which is why I wanted to make and share this tie dye heart pillowcases project with all of you! Imagine going to bed every night with your head cradled by a large colorful heart. Peace and love, baby! I figure every little bit helps to create good energy, so why not going to sleep with love literally on your cheek.

You can use this technique on hankies, baby onesies, t-shirts, towels, blankets, anything. Once you master making these tie-dye hearts, you’ll have so much fun applying the technique to other items! Check out what I did to this T-shirt!
Pretty cool, right? So my possibilities! Trust me, you’ll make this project and then want to dye all the things!
Check out my tie dye heart pillowcase tutorial HERE!
Supplies to make tie dye heart pillowcases:
Plastic bag
Plastic table cover
Plastic gloves
Directions for tie dye heart pillowcases:
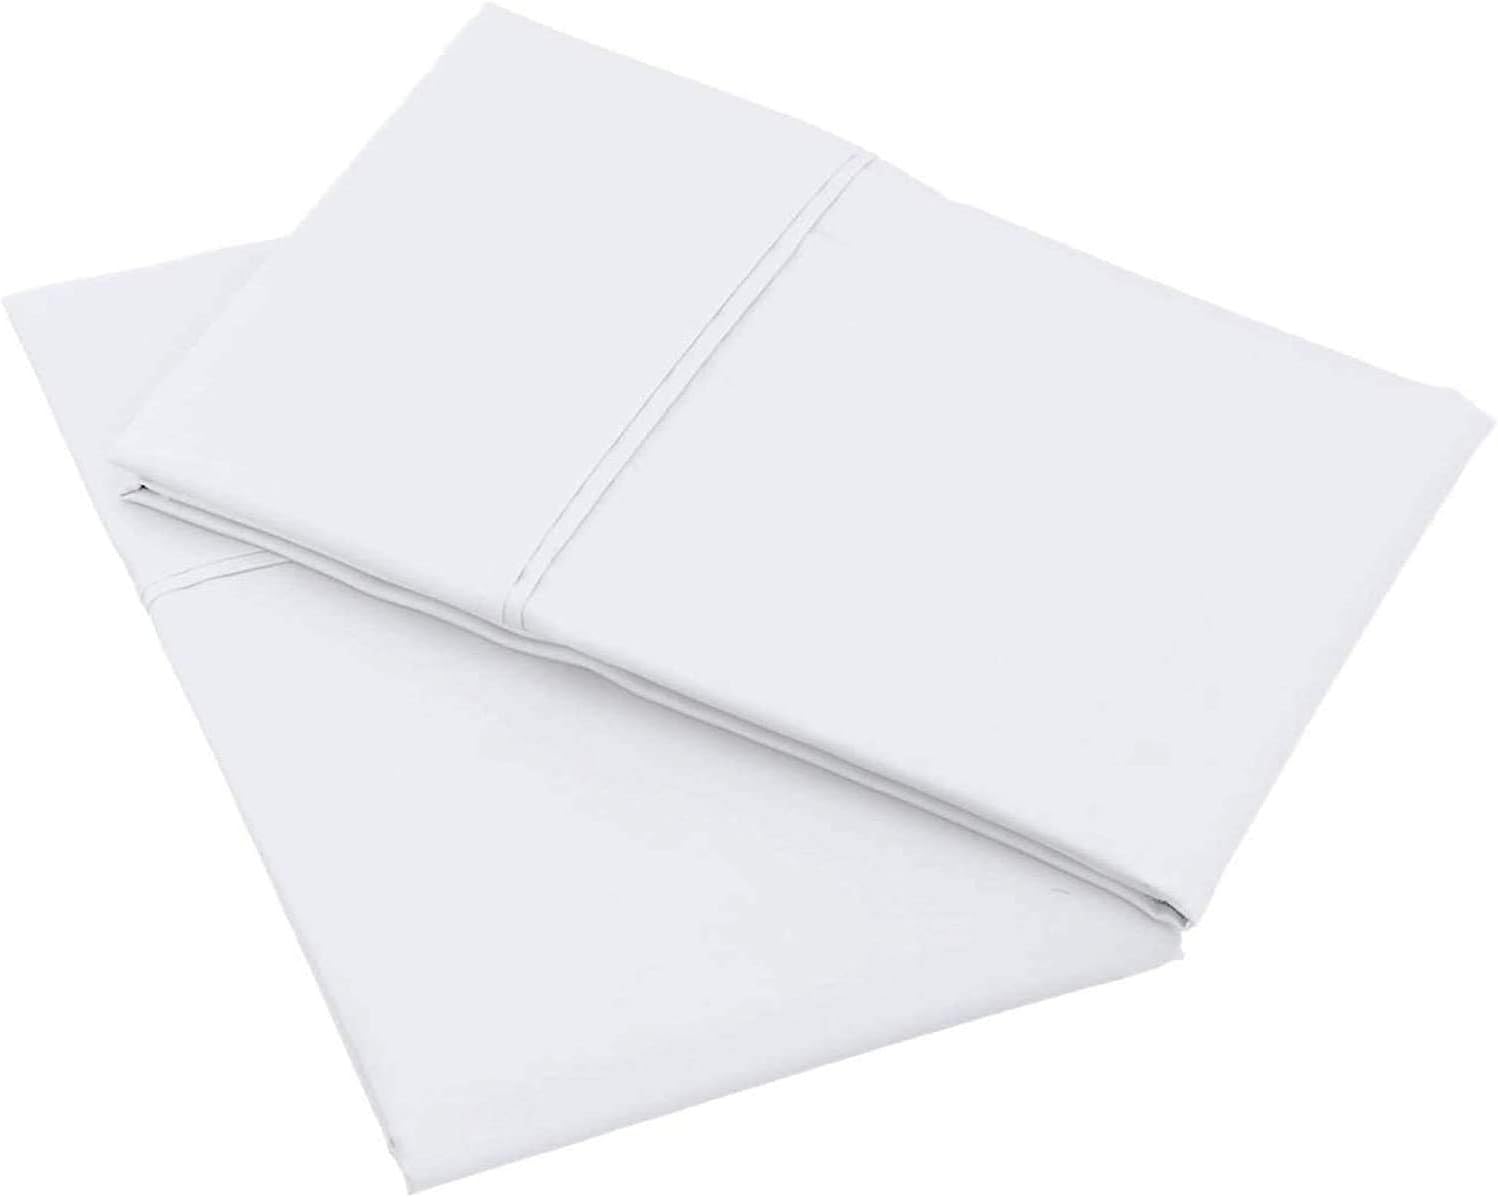
Make sure to buy 100% cotton pillowcases, this will ensure the dye grips to the fabric and produces the brightest colors possible!
Work on a smooth and flat table. Fold the pillowcase in half to create a square.
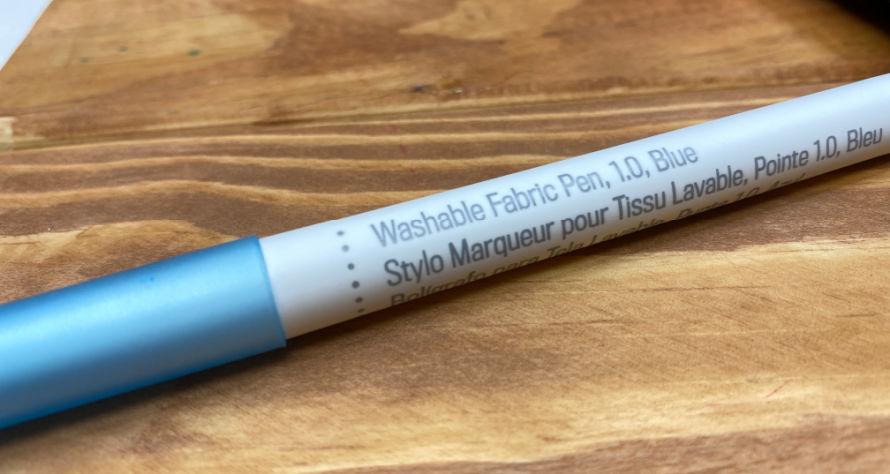
Use the washable fabric pen (or chalk) to draw on side of a heart on the folded side of the pillowcase.
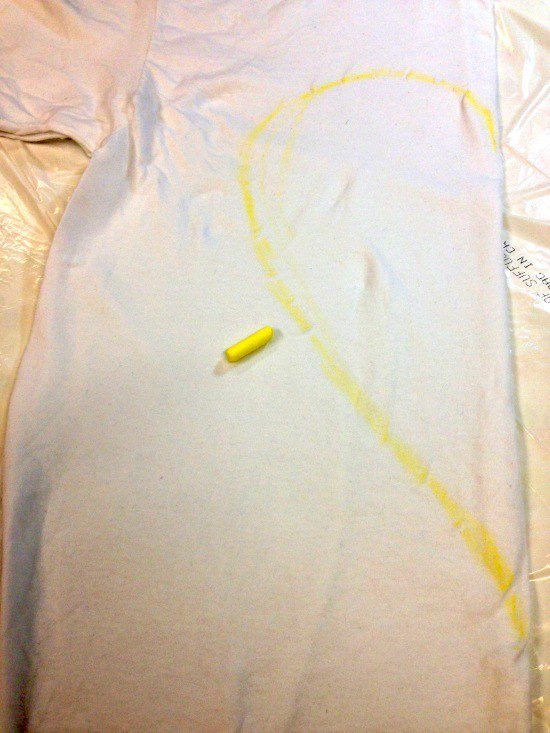
Starting at the bottom of one of the ends of the heart, use your fingers to carefully gather the fabric, following the marker line. The straighter you can get it, the straighter the shape of your heart will look.
Hold the creases in place and add a zip tie around the blue line you just gathered. Make sure the zip tie is on tight!
Add more zip ties to create more sections for you to add other colors.
Take your pillowcase to the sink and submerge it in water and ring it out so it is damp. Not super wet, but just damp. Let set on a paper towel.
Mix dyes
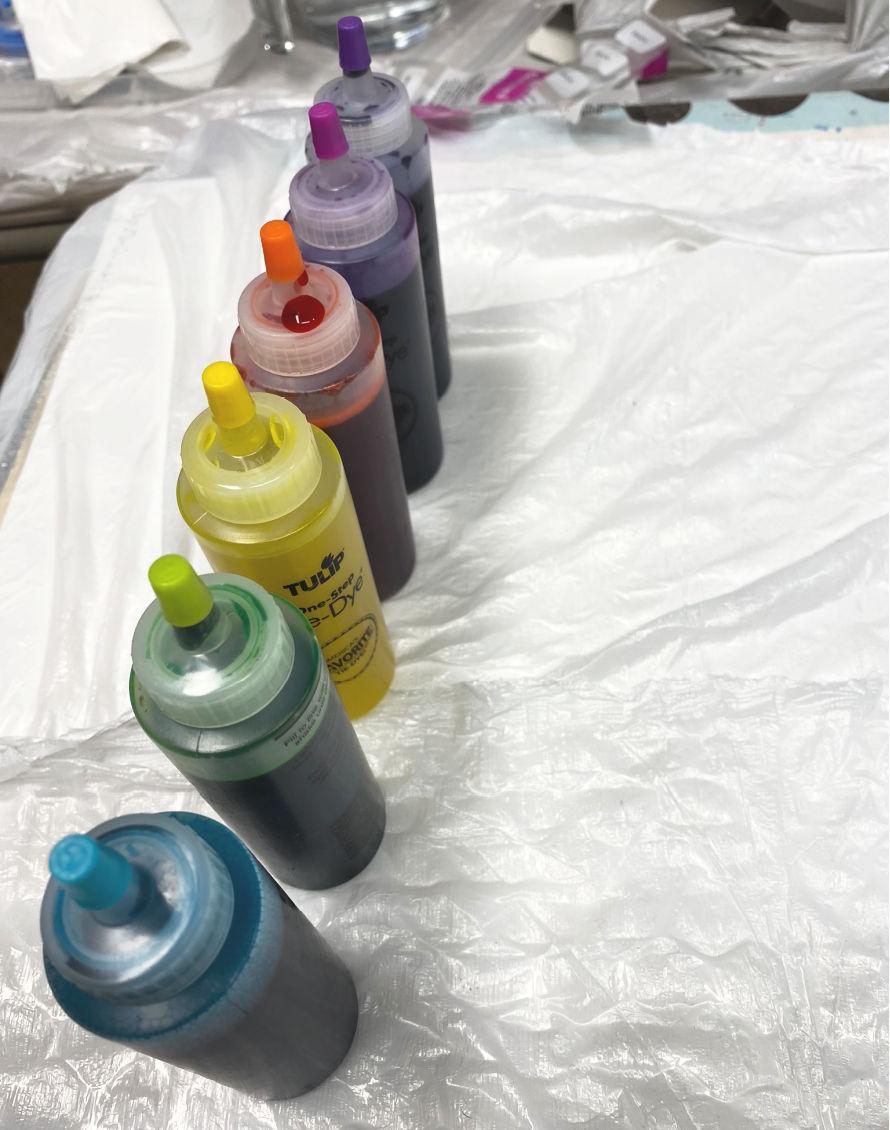
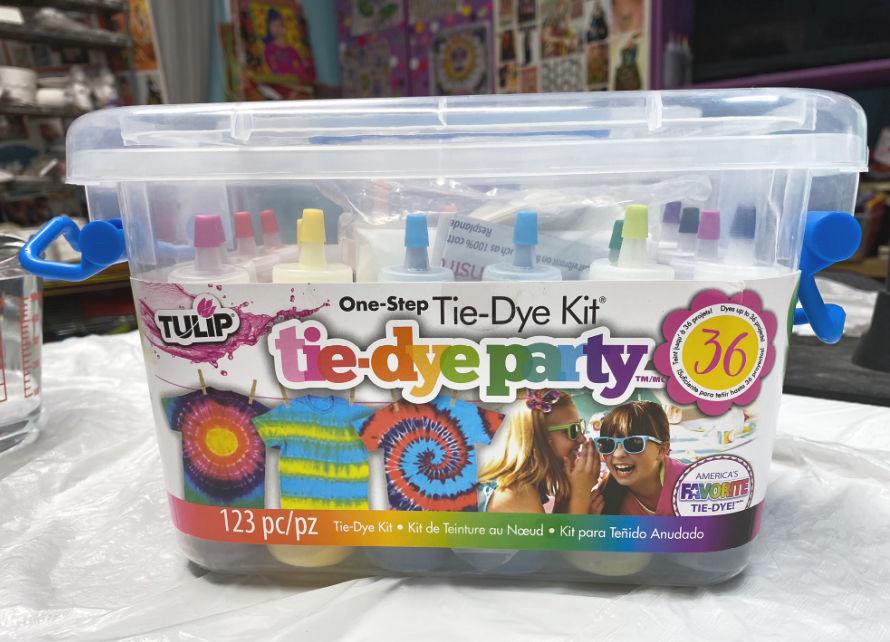
Put on the plastic gloves and choose the dye colors to use. Unscrew and remove the lids. Add water to each bottle, replace the bottle top and shake until the powder is completely dissolved.
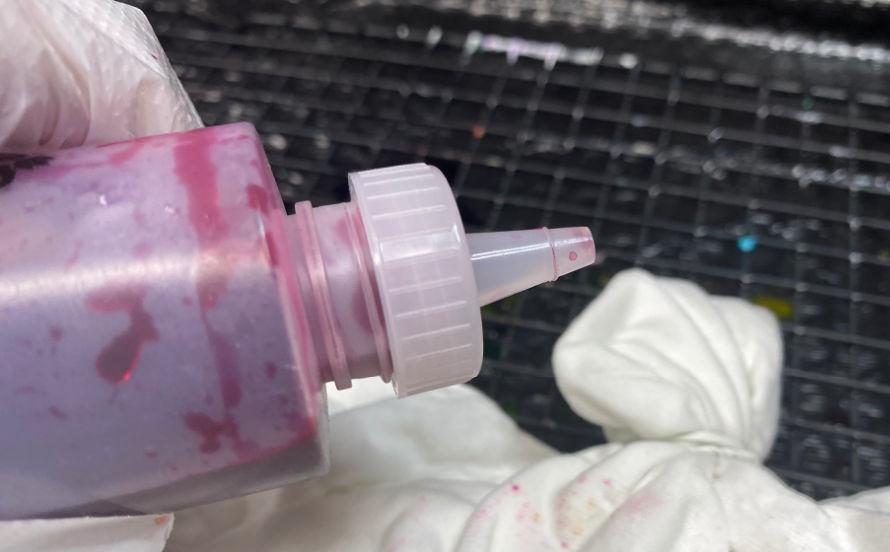
Prep all the colors you will use. I like to remove the colored tip/caps on the bottles so my process is faster. However, if I’m using red and pink dye, the bottles will look alike. Therefore I mark each bottle with R or P with a permanent pen so I know which is which!
Cover the table with the cover, then place the cooling rack in the center. Set your pillowcase on top. Starting with the first segment, add your dye to that area. You can go in a rainbow order or whatever combo you want. Just make sure not to mix colors like red and green because it will come out muddy.
Continue adding desired colors to each segment. Flip it over and repeat on the other side. Use the same colors for the same segments.
When your pillowcase is completely saturated with dye, carefully pick it up and wrap it in a plastic bag. If you are making two pillowcases, you can set them side by side and wrap.
Activation time!
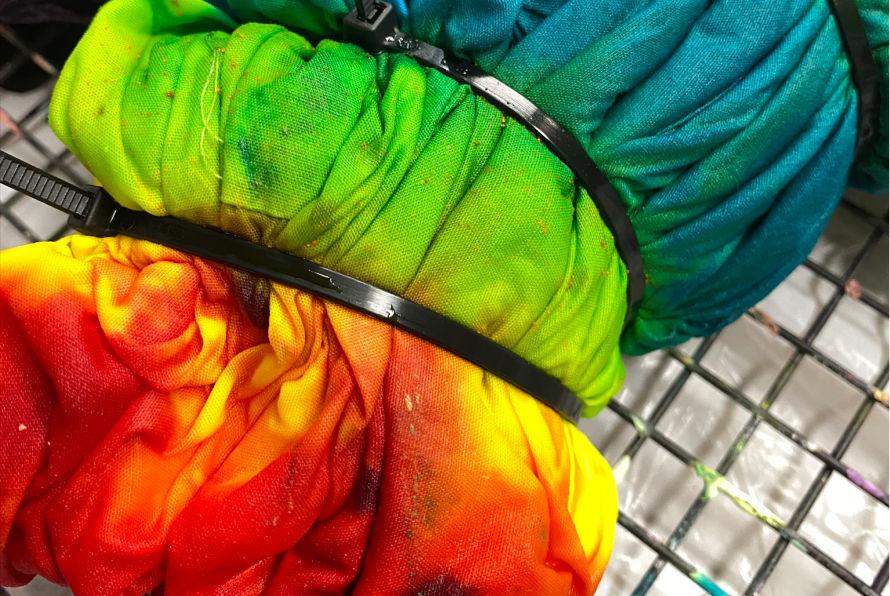
Let sit for six hours. The dye stops activating at six hours. Carefully place in an empty sink and rinse away the excess dye. Remove the zip ties, open the pillowcase and rinse more until the water is clear.
Run through the washing machine on cold and then hang dry.
Iron and then place on your pillows!
Other ideas:
Use fabric paint and a stencil to add more personality to your tie dye heart pillowcases!
Instead of a rainbow, you can use whatever other colors you want.
Sprinkle some of the powder dye on the wet pillowcase to achieve a starburst type of look.
Embellish further using fabric markers!
Thank you so much for checking out my tie dye heart pillowcases tutorial! Please let me know if you make this, I’d love to see!
The post DIY Tie Dye Heart Pillowcases – Rainbow Style! appeared first on The Crafty Chica! Crafts, Latinx art, creative motivation.

