

Learn how to tie dye shirts with kids. This fun outdoor activity has become a family summer tradition for us!
I love tie dye! I love the process, and I LOVE the results! And the best part is that something I used to love doing before I had kids has now become a really fun summer activity that I get to do with my kids.
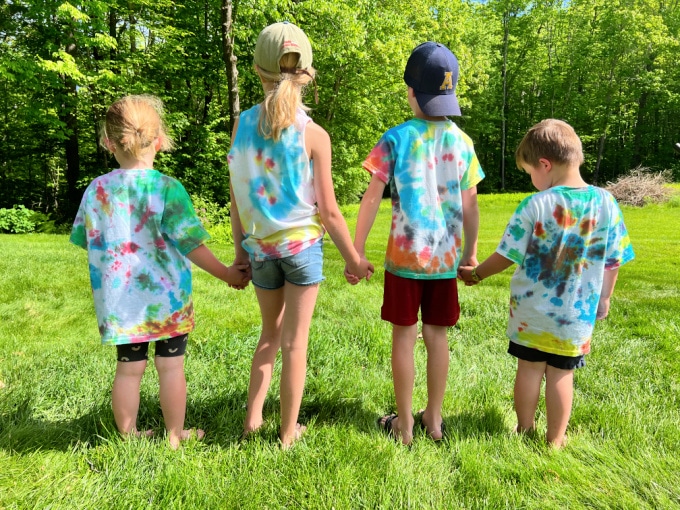
Each summer, my family gathers for a getaway in the woods and while we are all together, we make sure to get some tie dyeing in. Now the kids join in, too. It’s become a little tradition for us and we end up with some bright summer gear to wear!
And it’s so easy these days, with a plethora of tie dye kits to choose from at every store you visit.
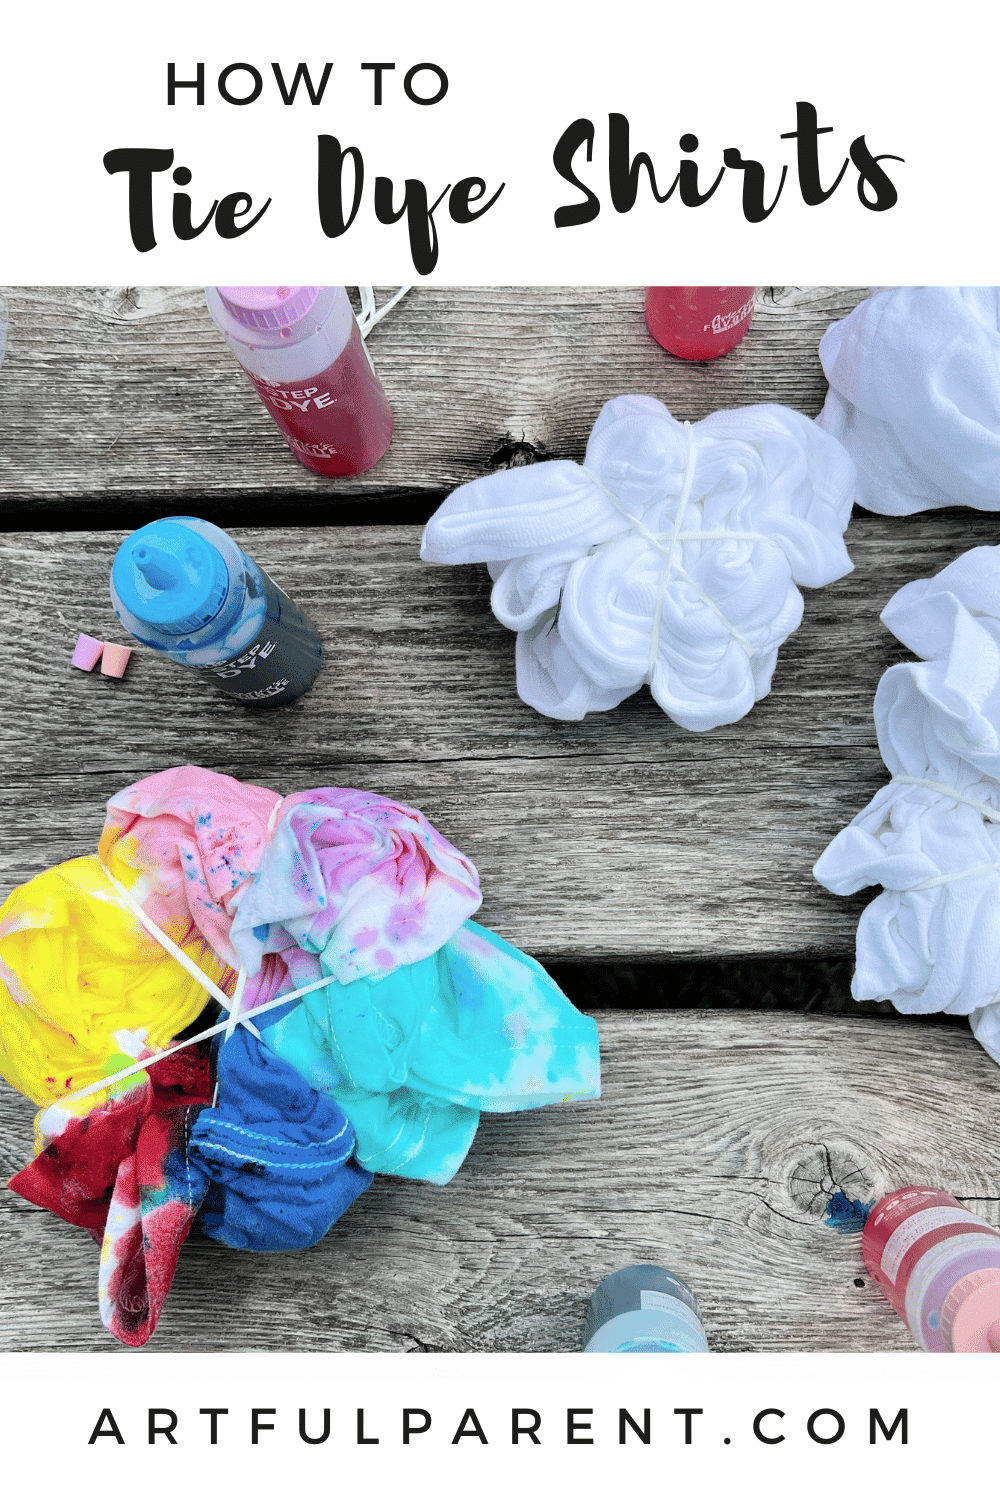
How to Tie Dye Shirts

MATERIALS
- Tie dye kit (we really like Tulip One Step kits, as they don’t require any other ingredients for the dyeing process)
- White shirts (or anything white that you’d like to dye)
- Plastic bags
INSTRUCTIONS
-
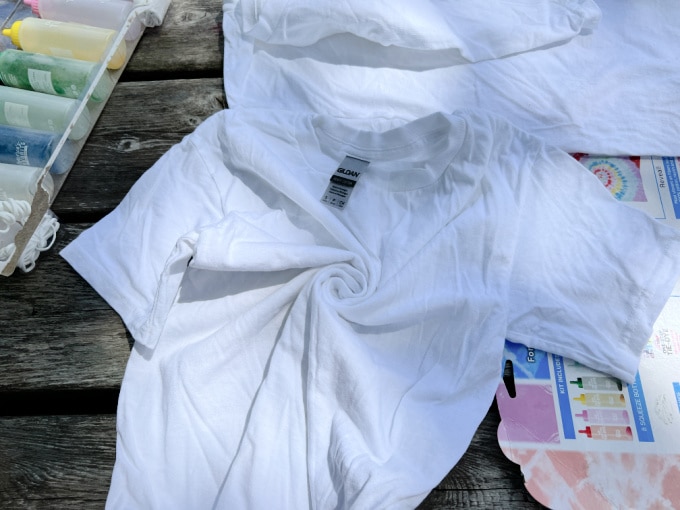
Prepare your shirts
Make sure to wash your shirts before you begin dyeing (or use shirts you already have in your drawers).
I made the mistake of skipping this step once, and the shirts ended up more white than dyed. -
Choose your design and twist your shirt
The instructions contain lots of suggestions on how to twist and tie your shirt to get different designs, but I always fall back on the tried and true: the spiral.
Simply use two fingers to twist the shirt in a spiral starting in the center. Then use 3 of the provided rubber bands to secure the twisted shirt.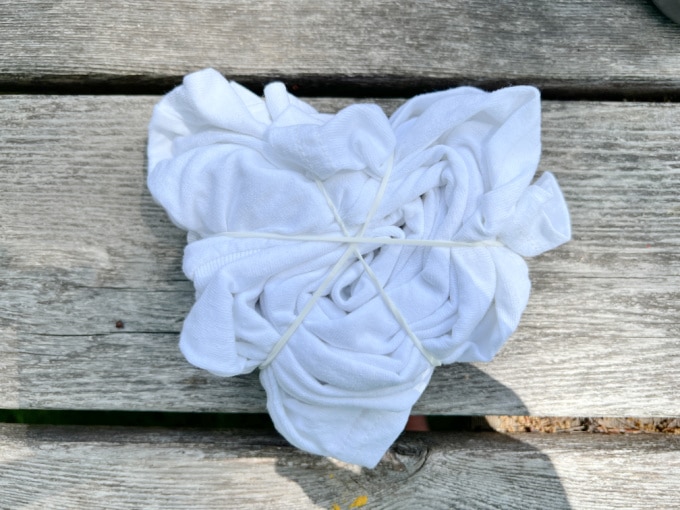
-
Mix your dye
Tie dyeing is so easy these days with the kits available. They contain everything you need, and the dye powder is already pre-measured and only requires water.
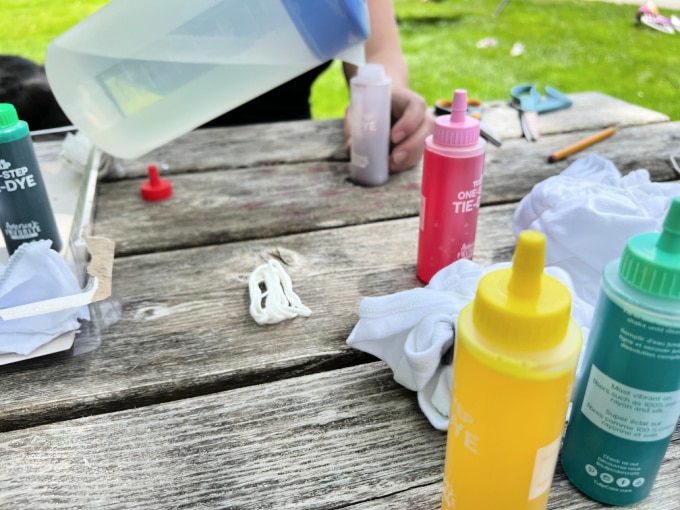
Add water to the line on the bottle and shake well (make sure there isn’t any powder left at the bottom).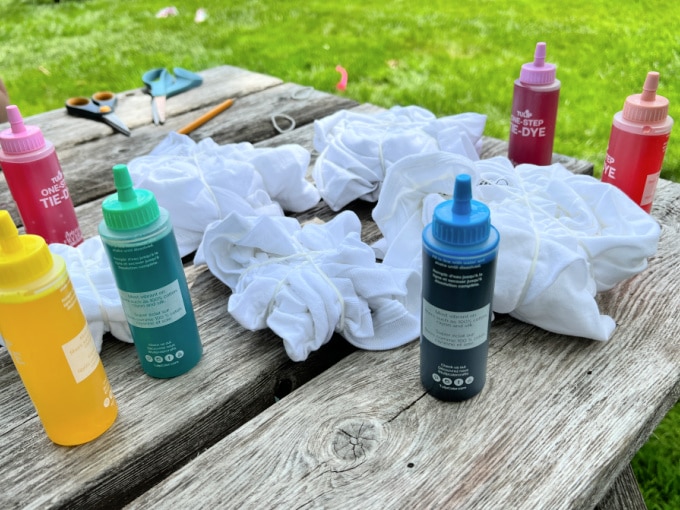
-
Tie dye!
Use the squirt bottle to fully cover a section of the shirt with dye. Each section of the shirt can be a different color.

Make sure you get dye in all the nooks and crannies!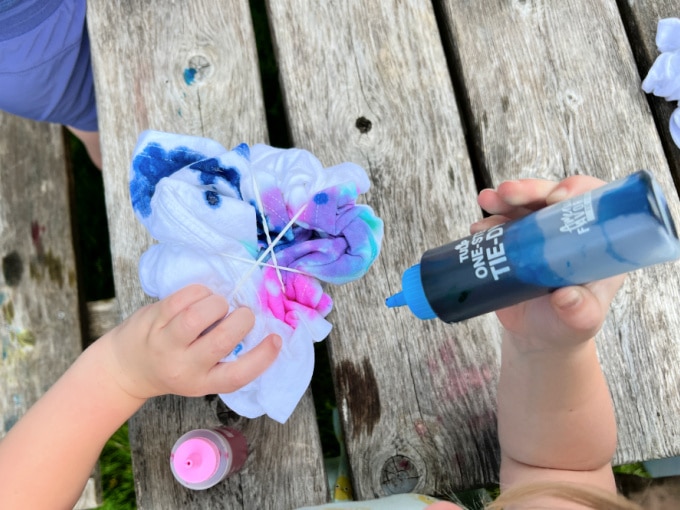
-
Wrap your shirt up
Use a plastic bag to wrap your wet shirt up tightly. Let your shirt sit for 4-6 hours (or however long the directions say). The waiting is the hardest part!
-
Rinse
Once your shirt has soaked in the dye for the set amount of time, rinse until the water runs clear.
Then wash and dry your shirt according to the directions. We washed shirts that had similar color combinations together, to avoid bleeding.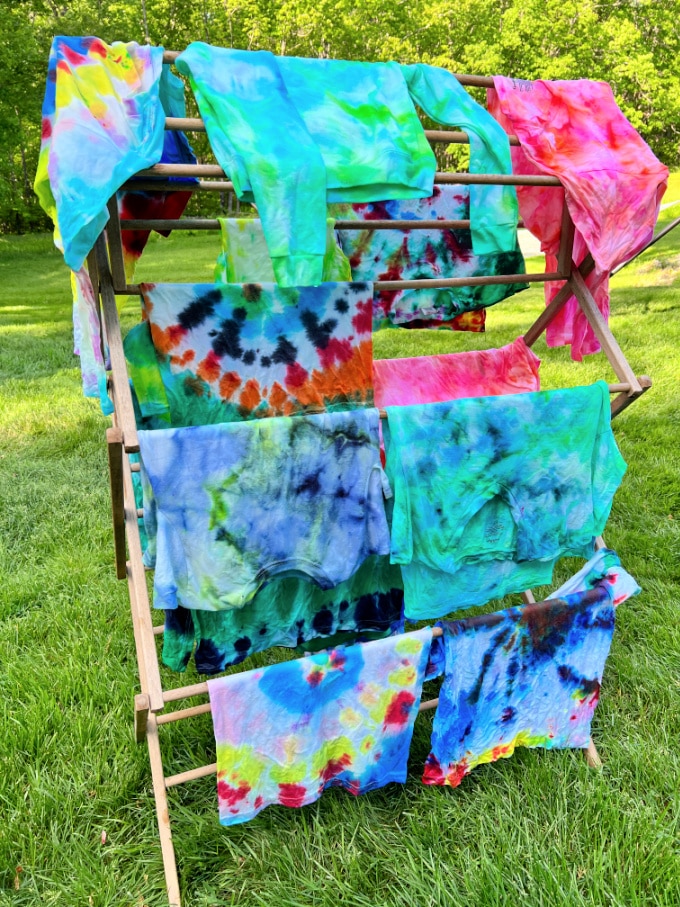
Here’s our drying rack full of shirts waiting to be washed.
Our favorite part of this whole process is the moment we remove the rubber bands and see the design for the first time. No matter how many times we’ve tie dyed, the results are always amazing!
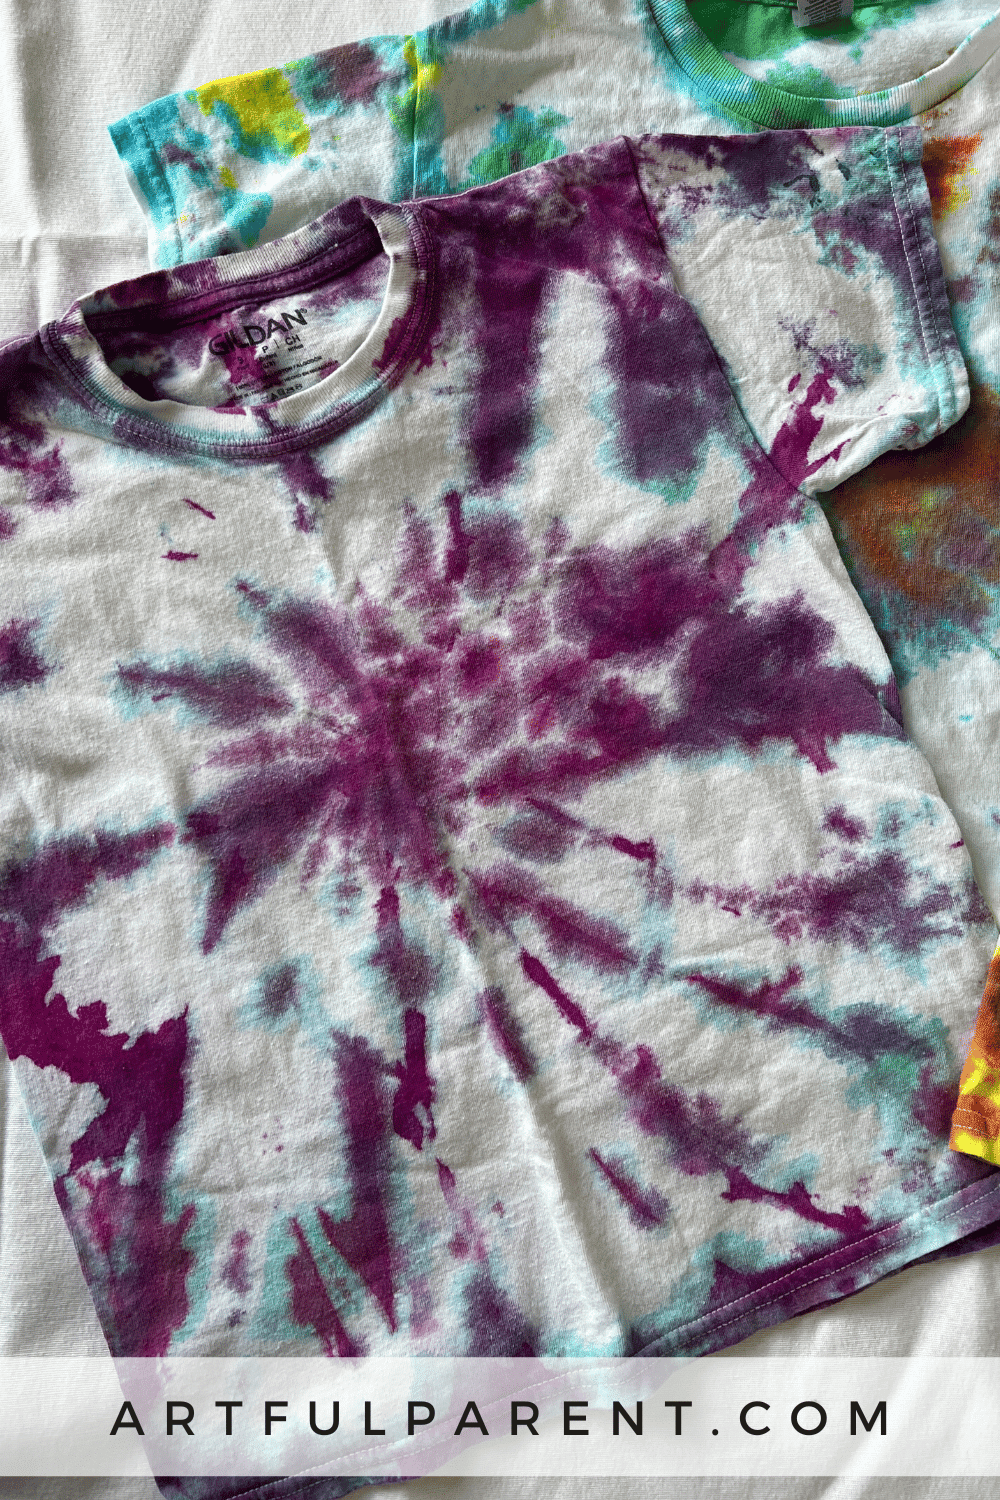
If you haven’t tried tie dyeing yet, you should put it on your summer bucket list. You won’t regret it, and you’ll have a fun new tee to proudly wear!
More Tie Dye Crafts for Kids
- How to Tie Dye Scarves and Playsilks for Pretend Play and More!
- How to Sharpie Tie Dye Comfort Pillows
- How to Do Sharpie Tie Dye! – YouTube
- DiY Playsilks: Dyeing with Kool Aid
- 11 Ways to Have a Creative Summer with Kids
- 12 Best Summer Art Activities for Kids
Pin It for Later
The post How to Tie Dye Shirts appeared first on The Artful Parent.