[FTC Standard Disclosure] This post is sponsored by the Hearth, Patio, and Barbecue Association as part of their #WhyIGrill series.
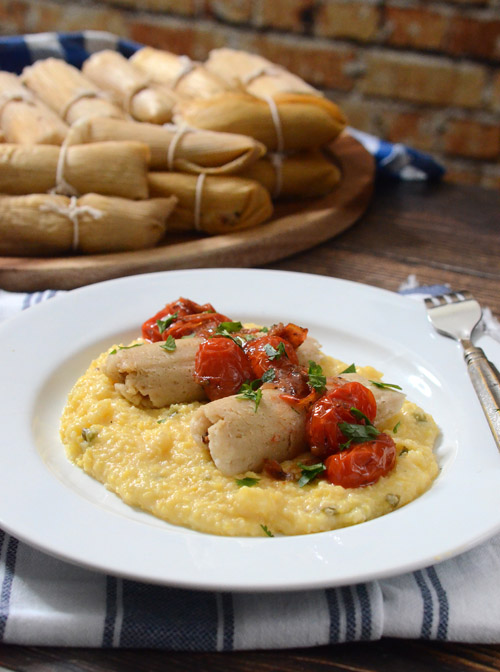
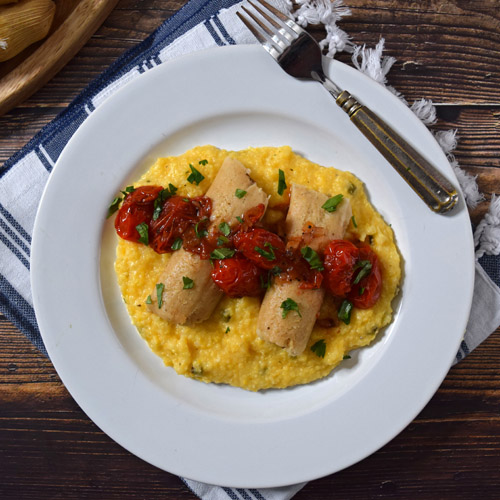
I'm excited to be working with Hearth, Patio, and Barbecue Association to share #WhyIGrill during the shorter days and cold nights of winter. I also teamed up with HPBA to share a new recipe that we created for Smoked Beef Short Rib Tamales with Jalapeno Cheddar Grits with Fire Roasted Tomato Sauce .
 |
Comfort food is taken to the next level - Smoked Beef Short Rib Tamales, Jalapeno Cheddar Grits, and rustic Fire-Roasted Tomato Sauce
|
#WhyIGrill In The Winter
Sure it's cold but that doesn't mean it's time to pack up the grills until Spring. Like most of my friends, we grill and BBQ year-round for a variety of reasons.
- The short and sweet reason is that I want my food to taste as good in the winter as it does during the summer.
- Another reason is that I think that getting outside is one of the best ways to fight off those winter blues.
- Perhaps the best reason for grilling during winter is because of the yummy comfort foods that come with winter, such as; chili, stews, pot roasts, and these tamales.
Let's talk about making those delicious tamales. The full recipe is at WhyIGrill [ENTER LINK] while this post is like the commentary at the end of movie credits.
Smoking Beef Short Ribs
This recipe uses 2 cups of smoked beef short rib. You could also use brisket or smoked chuck roast.
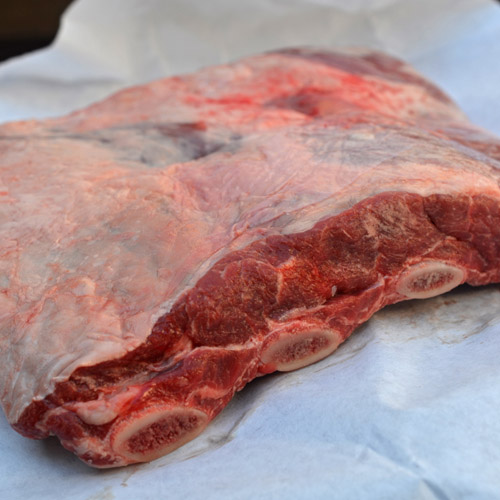 |
| I started with a rack of USDA Prime grade beef chuck short ribs. You could also use plate short ribs, I just went with what I could buy locally. |
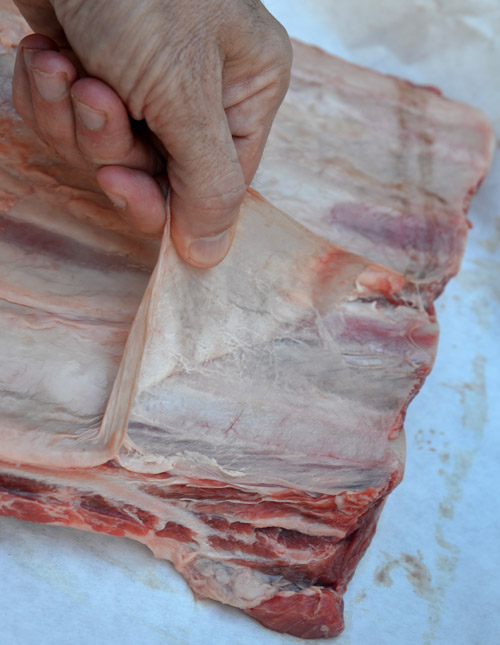 |
| Use a dull knife to start peeling off the tough membrane on the back of the rack of ribs. Then pull the membrane off and discard it. If it is slippery, a paper towel will help you keep your grip. |
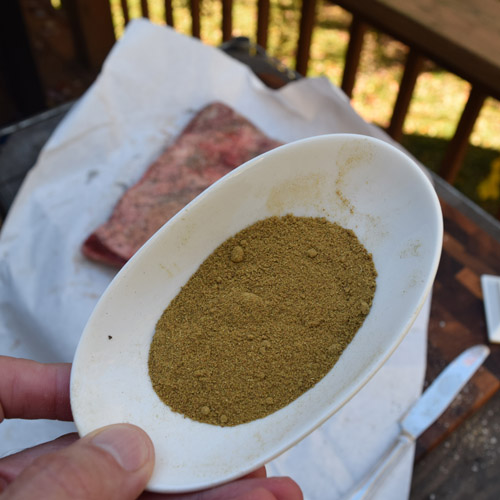 |
| I typically use a salt-pepper-garlic rub for my beef ribs but for this batch, I added dried ground green chile peppers. It adds a fruity, earthy, and spicy element which is perfect for the tamales. You can buy this online or dry and grind them yourself at home. |
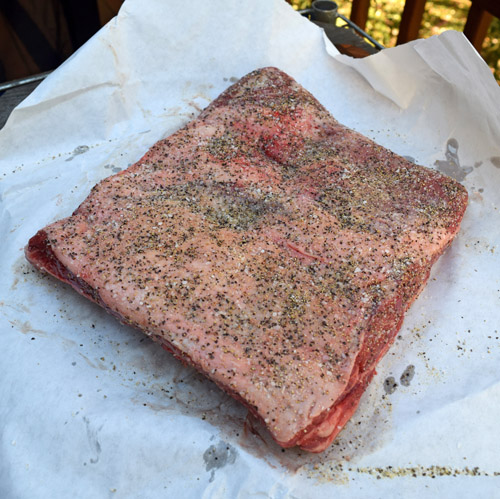 |
| Once seasoned, I place the ribs in the fridge to dry brine for 8-12 hours. This adds flavor and helps the meat retain its natural juices. |
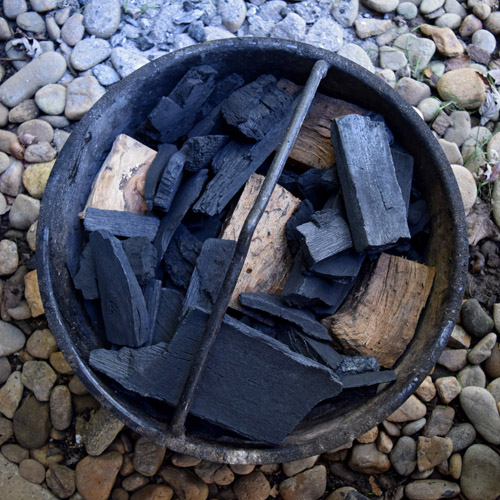 |
| I used a drum smoker for this cook. I loaded the charcoal basket with hardwood lump charcoal and large chunks of pecan wood. |
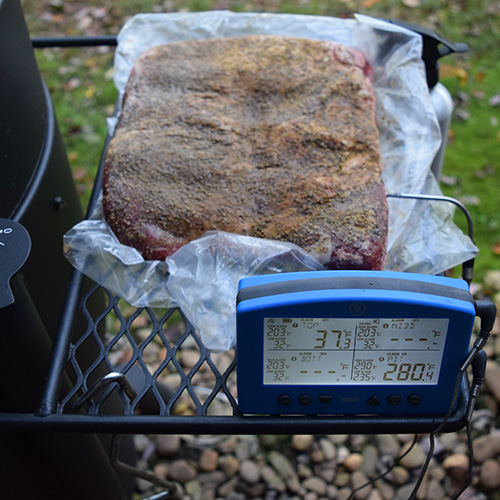 |
| For smoking, I like to put the meat on while it is cold and wet. This helps the nitrogen compounds in the smoke stick to the meat and convert into compounds that will bind with the myoglobin in the meat, creating the classic smoke ring. Notice the green hue of the ground green chile on the meat after brining overnight. |
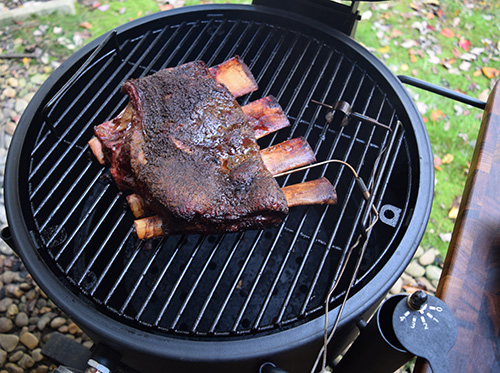 |
| I smoked it on the drum until it got dark and hit an internal temperature of 160-170°f. |
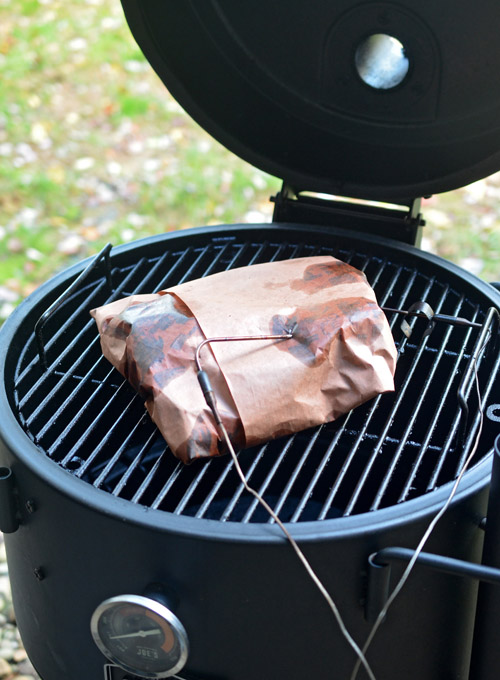 |
| Then I wrapped the ribs in butcher paper and left them on the grill until they were flexible, probe-tender, and an internal temperature of anywhere between 203-208°f. |
 |
| Then I rested the ribs for 1 1/2 to 2 hours. I used a hot box like caterers use but you can do the same thing in a small warm cooler. Just preheat the cooler by pouring in a pot of boiling water and closing it for 15 minutes. Dump the water, dry it out, put the ribs in, cover them with a towel, and close the cooler for the rest period. |
 |
| After resting, I put the ribs back on for a last kiss of smoke and to firm the crust back up after sitting in the humid hotbox or cooler. |
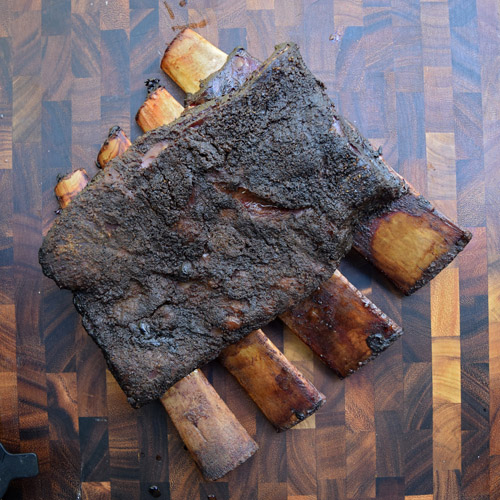 |
| Dino bones! |
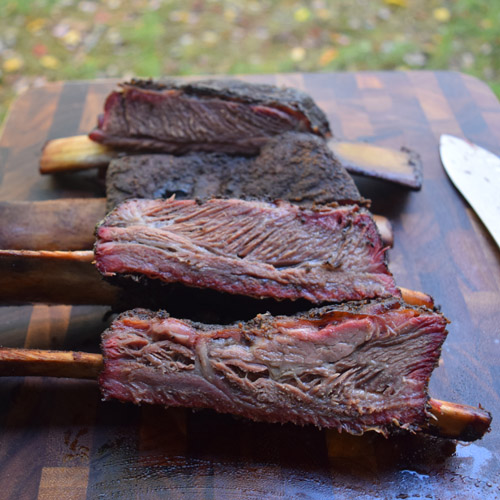 |
| This was perfect, two for us to eat and two to use in the tamales. |
Making The Short Rib Tamales
Making tamales the first time can be intimidating, but they're kind of like pancakes - Once you mess up the first one and get your feel for it, the rest of them are pretty easy and come out nicely. We're no tamale experts but here's how we make ours after making the masa dough.
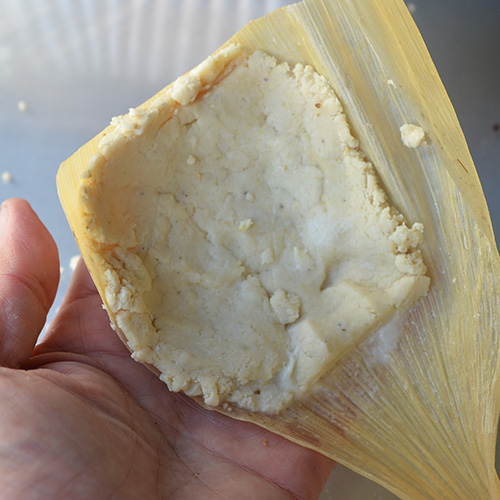 |
| Take a soaked corn husk and use the back of my spoon to spread a 1/3rd cup of the dough on the top half of the tamale. |
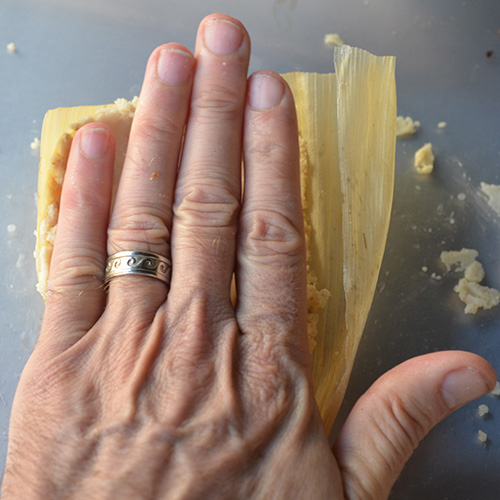 |
| I like to use my 4 fingers as a rough guide so that my tamales come out the same size. Notice I start at the edge on the left but leave a margin on the right side. That makes it easier to wrap. |
 |
| I put some beef rib and black bean and corn salsa in a food processer for about 10 pulses to get a ground meat consistency. |
 |
| I place about 2 tablespoons of the meat mixture in the center of the masa dough. |
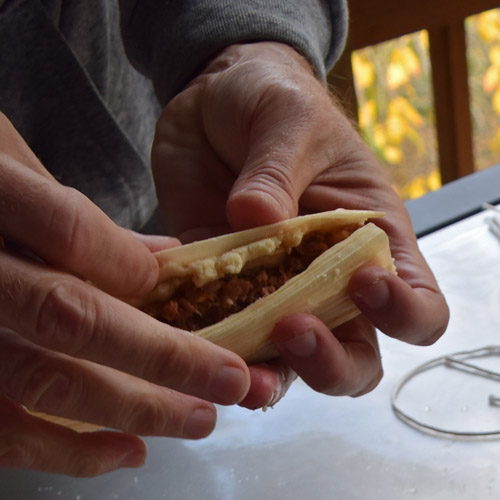 |
| Now, use the husk to roll the two ends of masa into a tube around the meat mix. |
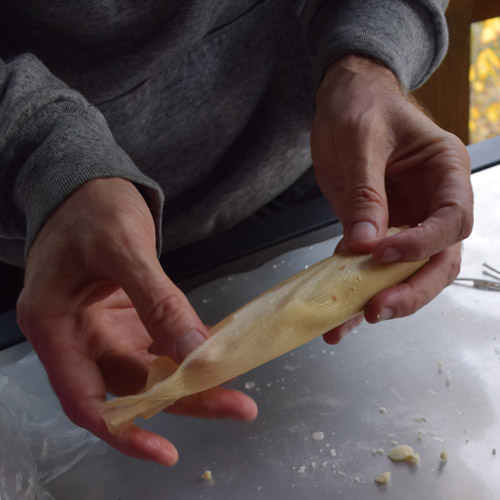 |
| I wrap the uncovered part of the husk over to complete the seam and then fold the bottom half of the husk up. |
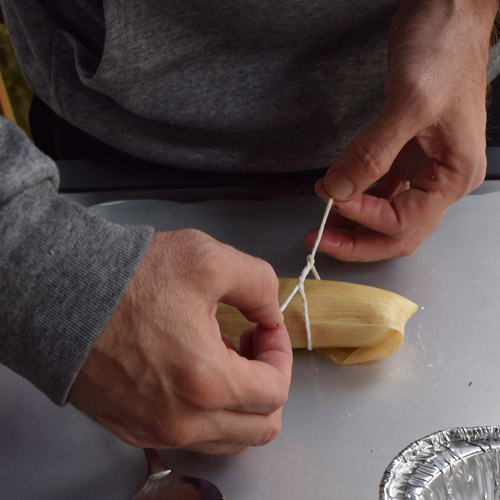 |
| Finally, I tie the tamale off to keep it all secure. |
 |
| Now just repeat it 23 more times. |
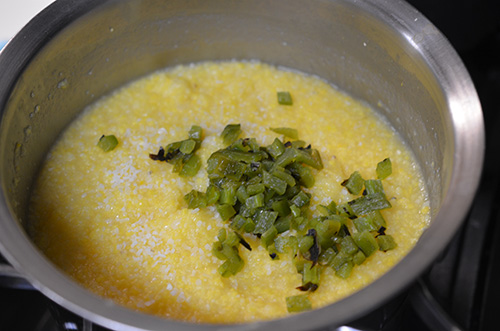 |
| For the grits, I make a cup of stone-ground grits with stock, dried onion and salt. Then I stir in a fire-roasted jalapeno and shredded cheddar. |
 |
| The tomato sauce is a rustic one with fire-roasted tomatoes, garlic, onion, oregano, butter, and salt to taste. |
 |
| I grill the tomatoes on skewers to make handling them easier. |
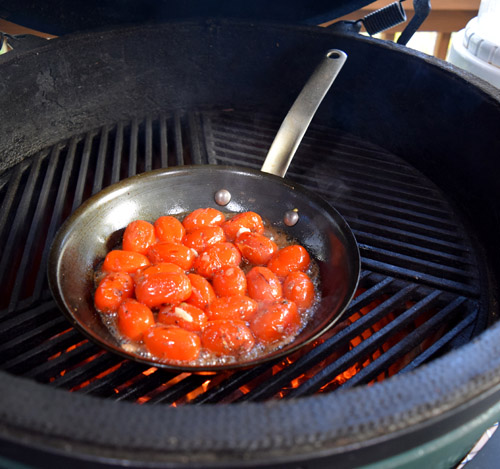 |
| Then I saute the tomatoes and garlic in a grill-safe skillet to break down the tomatoes. |
 |
| When the tomatoes are broken down and their juices get syrupy, the sauce is ready. |
 |
| I used a traditional steamer pot on the grill to steam my tamales for 50 minutes. It helps to have the water already simmering when it goes on the grill. I was running this grill at 400°f. |
 |
| Tip: Woven Nomex® type grill gloves don't provide a lot of protection from steam so be careful to always open the lid so it faces away from you. |
Plating
Plating it is simple, A big spoonful of the jalapeno cheddar grits, topped with a couple of cooked tamales, ladle some sauce over it, and garnish with cilantro or green onion.
For more in the #WhyIGrill series, check out HPBA's
Why I Grill website.
← Older Post
Newer Post →


